WATCHING IMAGES2
English 165
Use the following procedures to adjust the images displayed
on screen.
To make an adjustment, select the adjustment setting from
the menu and then click [SET] from the pull-down menu on
the screen.
(1) READ INTERVAL (Default setting: 1)
Select one of five image display speeds.
Larger setting numbers correspond to higher speeds;
however, the actual speed depends on the speed of your
network connection.
* When “(4) AUDIO” is set to “ON”, “READ INTERVAL”
cannot be set.
(2) SIZE (Default setting: 1)
Select one of six image sizes.
Larger setting numbers correspond to larger image sizes.
[Settings] ( indicates default setting)
* Size for full screen monitoring.
(3) QUALITY (Default setting: 3)
Four levels of picture quality can be set for live images (live
mode only).
The recorded image is not displayed during playback.
[Settings] ( indicates default setting)
(4) AUDIO (Default setting: OFF)
Change the audio channel for the device connected to the
AUDIO1 IN terminal on the unit’s rear cover.
Listen to the current audio from the device connected to the
AUDIO1 IN terminal while displaying live image.
Play audio from the device connected to the AUDIO1 IN
terminal at the time of recording while playing back a recorded
image.
[Settings] ( indicates default setting)
Select the audio delay time (buffering time).
Audio data is loaded to the computer (buffered) for a given
amount of time to ensure that there are no playback
interruptions. The playback audio is delayed when compared
with the originally recorded sound. The following set amounts
of time indicate the delay.
[Settings] ( indicates default setting)
PLAY
NORMAL RECORDING MODE
STOP
STOP
ALARM RECORDING MODEALARM RECORDING MODE
PLAYBACK AREA NORMAL
01-01-05 00: 36: 20
PLAYSPEED
READ INTERVAL :
SIZE :
01
AUDIO :
11
OFF
SET
SAVE TO PC :
----
OFF
LIVE
NORMAL RECORDING MODE
STOP
STOP
LV1:0 LV2:0 LV3:0 LV4:1
ALARM RECORDING MODE
01-01-05 00: 37: 58
1 1
3
READ INTERVAL : SIZE : QUALITY :
SET
01
04 05 06
02 HALL 4F 03
07 08 09
USER ID ID4
(8)
(9)
(10)
(6)
(7)
(2)
(3)
(7)
(11) (8) (12)
(1)
(2)
(6)
(5)
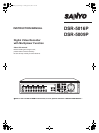
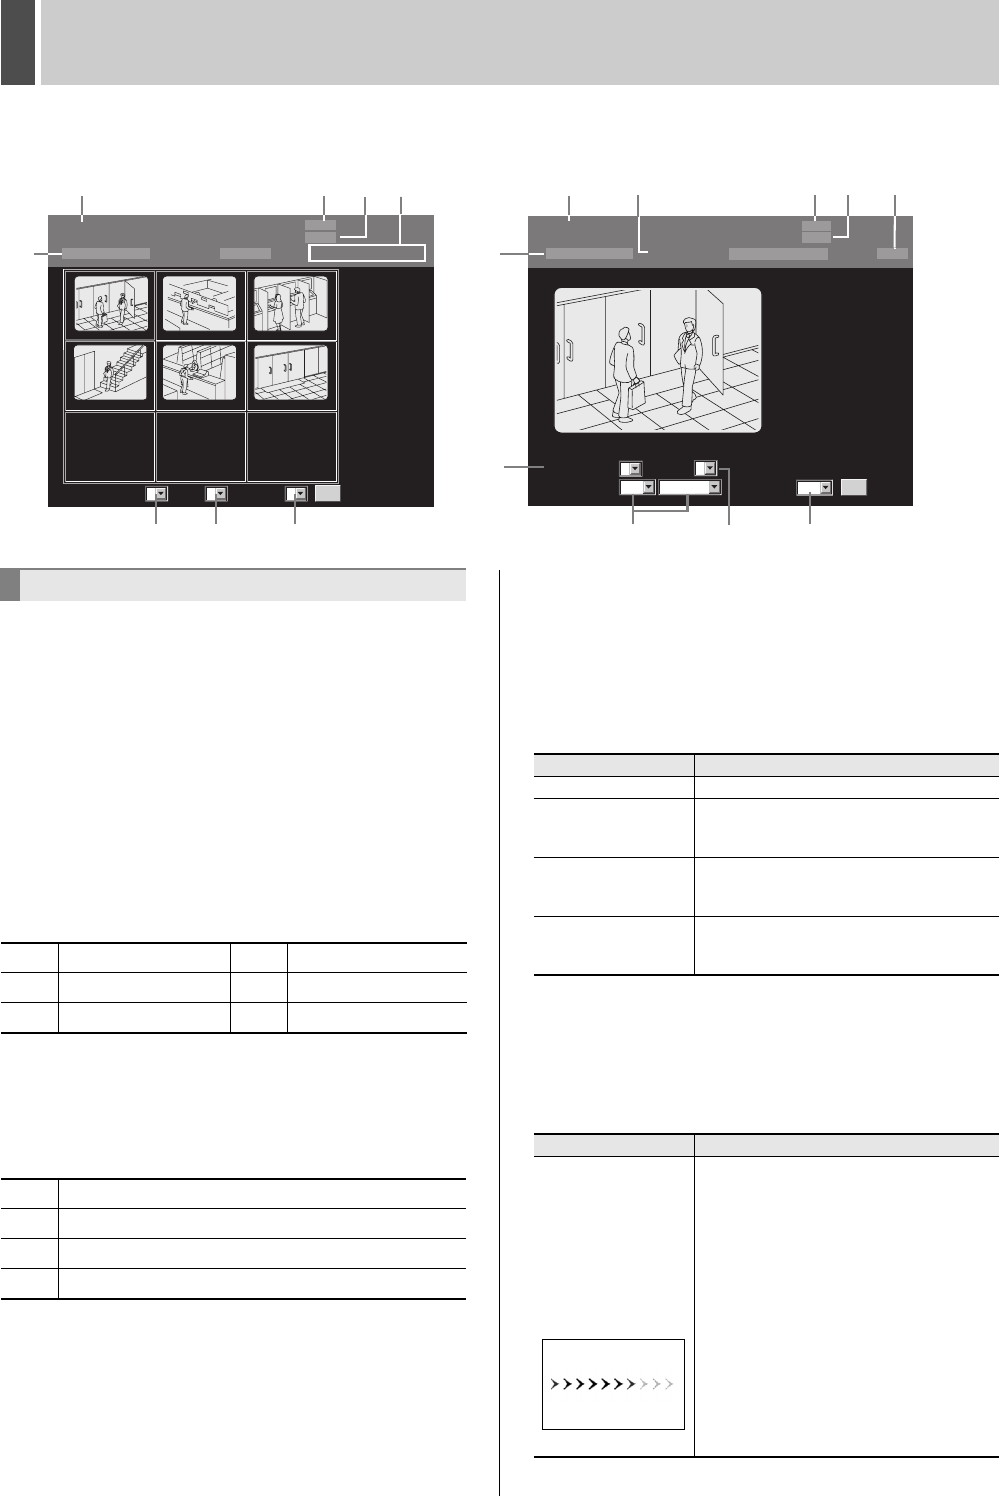
Play mode image (full-screen display)Live mode image (multi-screen display)
(1)
(4)
(9)
Adjusting the image and audio
1 320 x 240 4 800 x 600
2 400 x 300 5 1,024 x 768
3 640 x 480 6 1,280 x 960
1 Lowest quality
2 Standard quality
3Fine
4 Best quality
Setting Description
OFF Audio is not played.
A1
Play audio from the device connected to
the AUDIO1 IN terminal on the unit’s rear
cover.
A2
Play audio from the device connected to
the AUDIO2 IN terminal on the unit’s rear
cover.
A12
Play audio from both the AUDIO1 IN
terminal and the AUDIO2 IN terminal on
the unit’s rear cover.
Setting Description
5SEC
10SEC
15SEC
20SEC
30SEC
Screen indicating
the reading of
audio data
Set the audio delay (5, 10, 15, 20 or 30
seconds) to play audio.
In Play mode, the speed of fast-forward
and frame advance may be affected by
the network environment being used.
In addition, if the audio-data reading
screen appears frequently, the audio
delay (5, 10, 15, 20 or 30 seconds)
should be lengthened to match the
network environment.
If this screen continues to appear
frequently even when the delay time is 30
seconds, it indicates that audio playback
is not possible with the network
environment being used.
e00_l8hbd_xe_7.book Page 165 Tuesday, April 5, 2005 11:41 AM