


5-2 Chapter 5 Recording/Playback
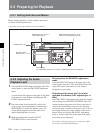
5-1 Preparing for Recording
Chapter 5 Recording/Playback
5-1-2 Selecting Audio Signals
This section describes how to select the audio signals
for input and monitoring.
Selecting the audio input signals
Proceed as follows to select the audio input signal and
channels.
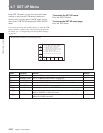
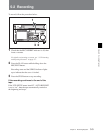
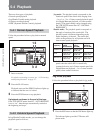
1 Press the AUDIO button, and in the AUDIO screen
press the [F1] (AUDIO IN) button, to access the
AUDIO INPUT screen.
2 Make the audio input signal settings for each
channel.
SDI: audio signal input from the HD SDI INPUT
A/B connector
AES/EBU: audio signal input from the DIGITAL
I/O (AES/EBU) connector
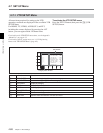
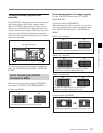
Making settings for individual channels with
the F buttons
By pressing any of the [F1] (A-IN CH1) to [F8] (A-IN
CH8) buttons in the AUDIO INPUT screen, and in the
ALT+AUDIO screen obtained by pressing the ALT
button, the [F1] (A-IN CH9) to [F4] (A-IN CH12)
buttons, you can select the type of input signal for each
channel.
Making input signal selections for individual
channels with the numeric buttons
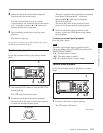
1 Press the cursor T or t button, to align the
cursor with the channel for which you want to
make the selection.
2 Press the cursor R or r button, to select the signal.
To return to the default settings
Press the center cursor button.
To select the same input signal
simultaneously on all twelve channels
Press the [F7] (A-IN ALL) button. This changes the
input signal simultaneously on all twelve channels.
You can also make this setting using the VTR SETUP
menu item 830 “AUDIO INPUT SELECT”.
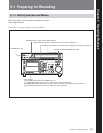
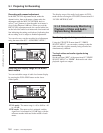
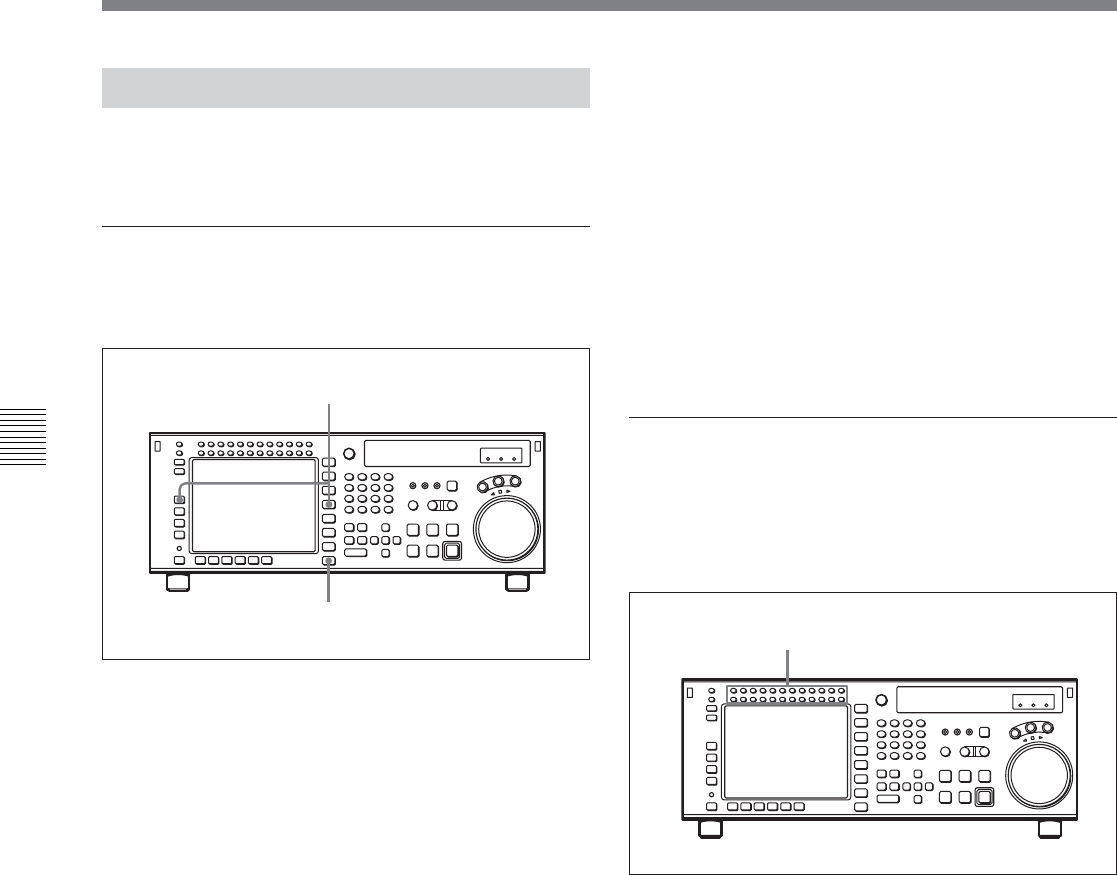
Selecting audio signals to be monitored
With the L/R MONITOR SELECT buttons at the
upper left of the control panel, switch the audio signal
output from the PHONES jack and MONITOR
OUTPUT L/R connectors as follows.
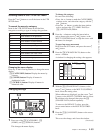
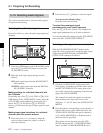
1 Check the AUDIO LEVEL display area in the
color display, and make sure that the unit is not in
the REC LEVEL/PB LEVEL setting state (with
red or blue vertical lines appearing on the left and
right of the LEVEL METER).
The channels for which the signals are currently
being monitored are shown by reverse video
characters “L” and “R” below the AUDIO LEVEL
METER.
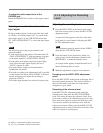
2 Press the buttons corresponding to each channel, to
light the L/R reverse video indications below the
AUDIO LEVEL METER, and specify channels 1
to 12 with the MONITOR L or R button (both L
and R can also be specified).
This setting can also be made using the VTR
SETUP menu items 807 “AUDIO MONITOR-L
select” and 808 “AUDIO MONITOR-R select”.
1
1
2