4-4 CUE Menu
4-46 Chapter 4 Menu Settings
Chapter 4 Menu Settings
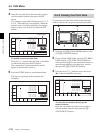
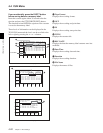
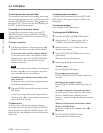
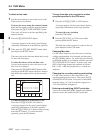
To write-protect the cue point data
To write-protect individual cue point data items, align
the cursor with the line you want to write-protect, then
press the [F7] (PROTECT) button. When
appears to
the right of “No.”, then it is not possible to change the
IN, OUT, and File Name settings.
Canceling the write-protect setting
To cancel the write-protect setting, press the [F7]
(PROTECT) button. After a confirmation message
appears, hold down the SFT button and press the [F7]
(PROTECT) button.
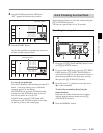
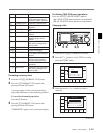
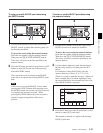
To insert a new line
1 Use the cursor buttons to position the cursor (B)
below the line where a new line will be inserted.
To move the cursor with the numeric buttons
To move the cursor, enter a line number with the
numeric buttons, then press the [F9] (CUENUM
POINT) button. The cursor moves to the line
number you entered.
Note
If the cursor buttons are not linked to movement of
the entry cursor B, it is not possible to move the
entry cursor B with the cursor buttons.
To link the cursor buttons to movement of the
entry cursor B
Pressing the cursor center button toggles between
the linked and unlinked states.
2 Press the ENTRY button while pressing down the
SFT button.
A new line is inserted above the line specified by
where the cursor (B) is placed and the current time
data is entered on that line.
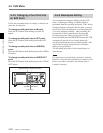
To delete a line
To delete a line, with the cursor buttons align the
cursor with the line to be deleted, hold down the SFT
button, and press the [F5] (DEL POINT) button. This
deletes the line, and renumbers the lines following the
deleted line.
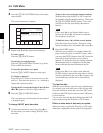
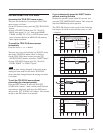
To display other information
To display other information, press the [F8] (TAPE
INFO) button. This opens a window to display the
information.
To close the window
Press the [F8] (TAPE INFO) button.
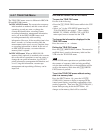
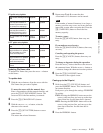
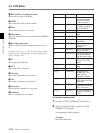
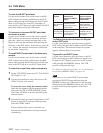
To change the ID/ADMIN data
1 Press the ALT/[F3] (ATTRIB EDIT) buttons.
2 With the cursor R or r button, select “ID” or
“ADMIN”, then press the ENTRY button.
3 With the cursor T or t button, select the
character to be entered.
4 Press the [F7] (SET LETTER) button or cursor
center button.
This enters the selected character.
5 Repeat steps 3 and 4, to enter the data.
To enter a space
Press the [F5] (SPACE) button.
If you make an error in entry
Press the [F6] (BACK SPACE) button, then carry
out entry.
Returning to the original settings
Press the [F9] (CANCEL) button, then carry out
entry.
To change a character during the operation
Press the cursor R button, then move the cursor to
the ID or ADMIN frame. With the cursor T
button or t button, change the character insertion
position.
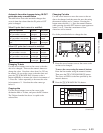
When not all characters can be shown within
the ID or ADMIN frame
On the left or right of the comment frame, t or
T appears.
6 Press the [F10] (SAVE/EXIT) button.
This returns to the original screen.


