


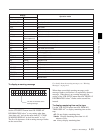
Chapter 4 Menu Settings 4-29
Chapter 4 Menu Settings
4 •When 30F is selected in the step 3,
Press the [F6] (PDTC DF/NDF) button to select
DF or NDF.
This selection is effective only for 30F time code.
DF: Drop frame mode
NDF: Non-drop frame mode
auto: The unit switches the running mode (DF/
NDF) automatically according to the frame
frequency of the unit. When the frame
frequency is 23.98 Hz, the unit switches to the
drop frame mode and switches to the non-drop
frame mode when it is 24 Hz.
•When 24F is selected in the step 3,
Skip this step.
5 Enter the time code data in the data entry window
with numeric buttons.
6 Press the SET button to set the input data.
7 Press the [F2] (PDTIME SET) button.
Notes
•Once the time code is preset, it cannot be reverted.
•Operation information display cannot be displayed
while the pull down time code appears.
• The pull down time code cannot be displayed while
the machine-to-machine editing display appears.
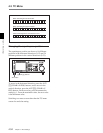
4-3-9 Presetting for Conversion
From Frame Time Code
(TCCONV MENU)
Use the following procedure to set the time code
conversion settings.
1 Press the TC button, and then press the ALT
button.
The ALT+TC menu appears.
2 Press the [F3] (TCCONV MENU) button.
The TC CONVERT menu appears.
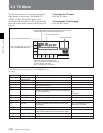
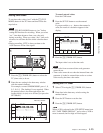
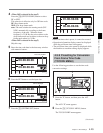
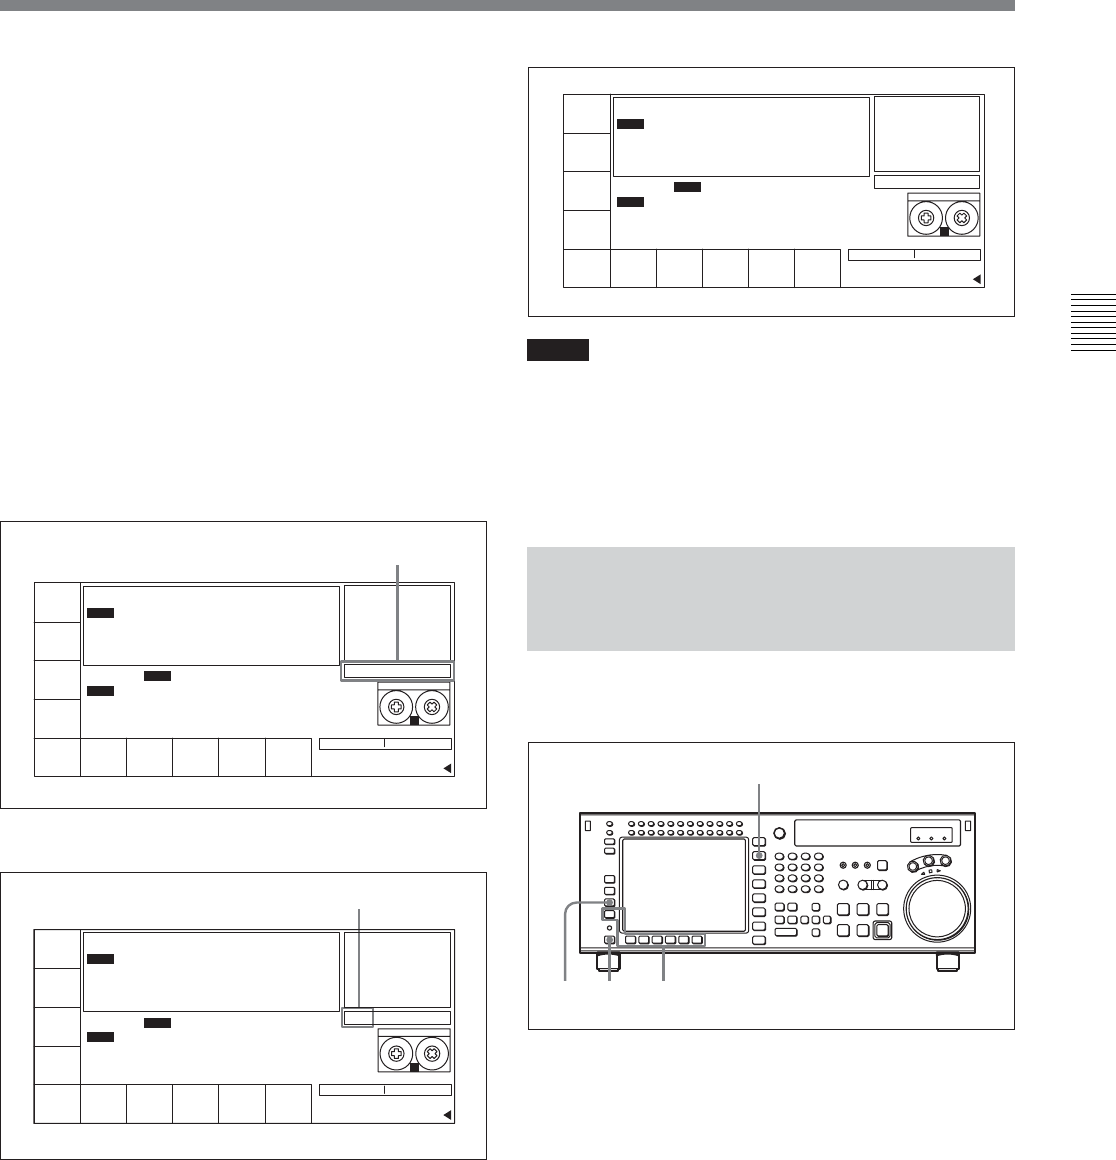
Data entry window
PRESET
MODE
24F
RDTIME
SET
EXIT
PD TC
DF/NDF
DF
STILL
01 00 30 00
SS
HDCAM-SR
REMAIN:01H06M
! ALT+TC
DF F2
INTRP DF 2FO
00
H
00
M
00
S
00
F
00
H
00
M
00
S
00
F
24F
30F
INTRP
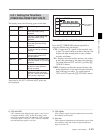
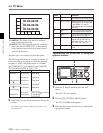
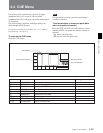
SET is displayed.
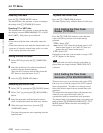
PRESET
MODE
24F
RDTIME
SET
EXIT
PD TC
DF/NDF
DF
STILL
SET 01 00 30 00
SS
HDCAM-SR
REMAIN:01H06M
! ALT+TC
DF F2
INTRP DF 2FO
00H 00M 00S00F
00H 00M 00S00F
24F
30F
INTRP
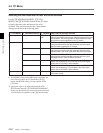
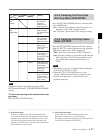
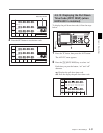
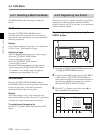
PRESET
MODE
24F
RDTIME
SET
EXITPD TC
DF/NDF
DF
STILL
SS
HDCAM-SR
REMAIN:01H06M
! ALT+TC
DF F2
INTRP DF 2FO
01
H
00
M
30
S
00
F
00
H
00
M
00
S
00
F
24F
30F
INTRP
31
1
2
(Continued)