


46 C1695M (8/06)
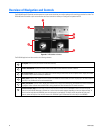
Setting Up the DVR5100 for the First Time
This section describes how to set up the DVR5100 for the first time. Information about configuring the unit is available in Basic DVR5100
Configuration on page 53. The first thing you must do after you install your unit is to set up a primary monitor. By default, a VGA monitor is the
primary monitor type. You can set your default monitor type to NTSC or PAL. The two methods for setting up an NTSC or PAL monitor as the
primary monitor are described below.
USING A VGA MONITOR TO SET UP AN NTSC OR PAL PRIMARY MONITOR
To select a primary monitor:
TIP: You can use an optional KBD5000 keyboard or a USB PC keyboard and mouse to perform some setup tasks more easily. Refer to
Understanding DVR5100 Controls and Menus on page 31 for a comparison on using any of these devices to work with the on-screen menus.
1. Connect a VGA monitor to the DVR5100.
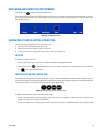
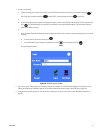
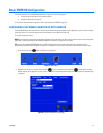
2. Press the power button on the front panel of the unit. The DVR5100 starts and displays the login dialog box.
WARNING: Pressing and holding the power button for five seconds shuts down the unit. It is recommended that you not shut down the
unit by pressing and holding the power button. To avoid data loss or data corruption, always follow the procedures in Shutting Down the
DVR5100 on page 52 to turn off the unit.
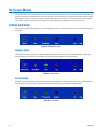
Figure 38. Login Dialog Box
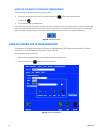
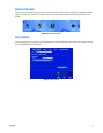
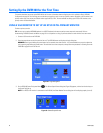
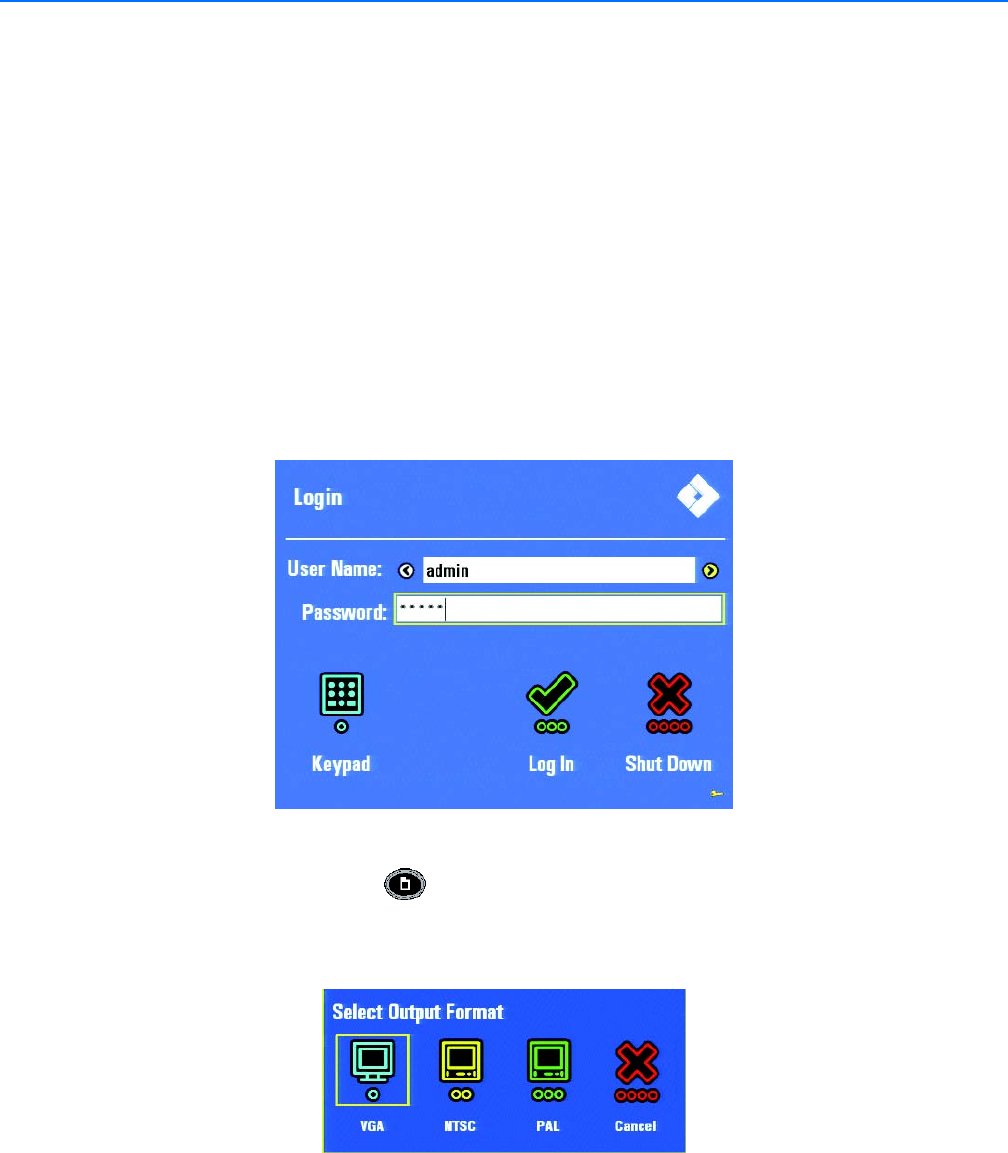
3. On the DVR5100 Control Pad, press Menu . The Select Output Format dialog box (Figure 39) appears, and the four function keys on
the Control Pad light up.
NOTE: If an NTSC or PAL monitor is connected to the DVR5100, the Select Monitor Format dialog box will not display properly (or at all).
Figure 39. Select Output Format