


72 C1695M (8/06)
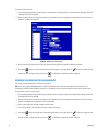
To modify the alarm input name:
1. If it is not already displayed, select the alarm device on the Devices tab of the Setup window. For information about selecting a device, refer
to Working With Devices on page 68.
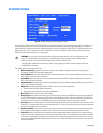
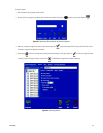
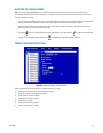
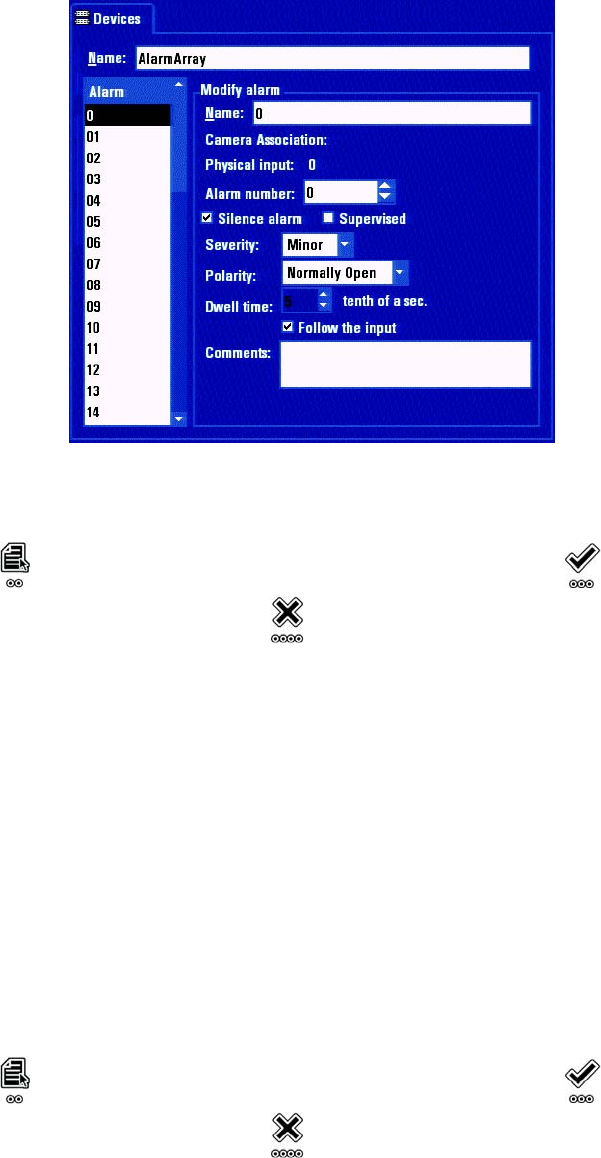
2. Move to the Alarm list box. The configuration options for the selected alarm input are displayed in the Contents pane. The alarm name is
displayed in the Alarm Name text box.
Figure 66. Modifying an Alarm Input
3. Use the Control Pad to modify the alarm input name. Refer to Renaming Devices on page 68 for additional information.
4. Select Apply to save your changes and continue working with settings on this page. Select OK to save your changes and close
the page. To retain the original settings, select Cancel . The DVR5100 main application window is displayed.
ASSIGNING AN UNIQUE ID FOR AN ALARM INPUT
You can assign an unique identification number to an alarm input.
TIP: You can use an optional KBD5000 keyboard or a USB PC keyboard and mouse to perform some setup tasks more easily. Refer to
Understanding DVR5100 Controls and Menus on page 31 for a comparison on using any of these devices to work with the on-screen menus.
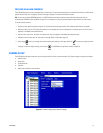
To assign an alarm number to an alarm input:
1. If it is not already displayed, select the alarm device on the Devices tab of the Setup window. For information about selecting a device, refer
to Working With Devices on page 68.
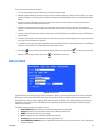
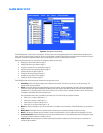
2. Move to the Alarm list box. The configuration options for the selected alarm input are displayed in the Contents pane. The alarm name is
displayed in the Modify Alarm Name text box. (Refer to Figure 66.)
3. Select an alarm input name, and then navigate to Alarm Number.
4. Turn the jog clockwise or counterclockwise to assign a number to alarm input.
5. Select Apply to save your changes and continue working with settings on this page. Select OK to save your changes and close
the page. To retain the original settings, select Cancel . The DVR5100 main application window is displayed.