100 C624M-C (5/06)
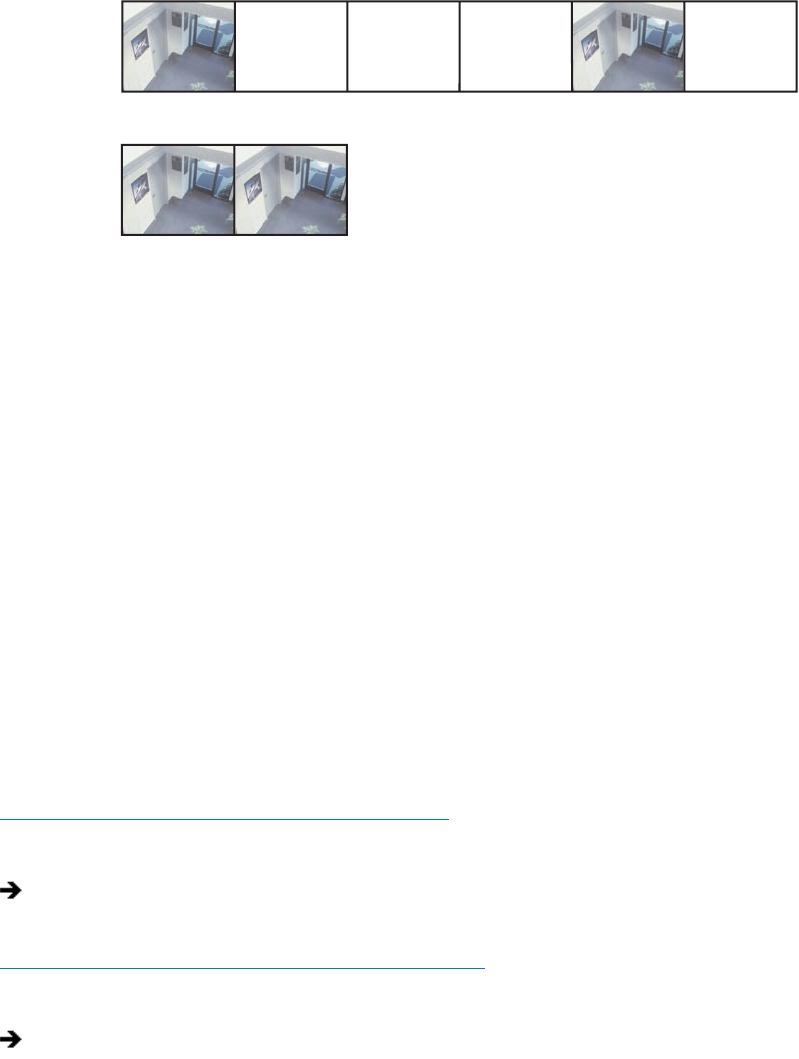
Figure 69. Real Time Versus Non-Real Time Export
To finalize the export process:
1. Make sure that the export media selected is inserted in the drive unit and that the drive is ready.
2. In the Time Range table, click selection box for each backed-up video time range you want to export.
3. In the Export Format section, do the following:
a. Click the Audio Record check box to include recorded audio.
b. Click the Real Time check box to export video using standard clock time.
4. Click Export to export video data.
STOPPING AN EXPORT WHILE IN PROCESS
Once an export operation has begun, a user can easily stop it by interrupting or canceling the operation from the Export menu on the main or
search screens. Interrupting an export simply stops the progress of the export while keeping all video information stored up to that point intact.
Canceling an export will delete any video data exported during the operation as well as ending the export itself.
This section describes how to stop an export process and includes the following topics:
• Retaining Video When Stopping an Export Process on page 100
• Deleting Video Data When Stopping an Export Process on page 100
Retaining Video When Stopping an Export Process
To halt an export that is in process while retaining video data stored to that point:
Deleting Video Data When Stopping an Export Process
To halt an export that is in process and delete any video data stored to that point:
WORKING WITH DX8000 BACKED-UP VIDEO
The DX8000 allows you to view and search backed-up video. Use the DX8000 server to back up video. You must use the DX8000 Client
application to view backed-up video.
For more information about viewing backed-up video, refer to the section titled Viewing and Searching Backed-Up Video in the Client
Applications Help or the Client Applications manual and Viewing Backed-Up Video on page 170.
From the DX8000 menu bar, choose Export > Interrupt Export.
From the DX8000 menu bar, choose Export > Cancel Export.
ᕡ
ᕢ
