94 C624M-C (5/06)
ENABLING THE DEINTERLACING FILTER
Images recorded at 4CIF at a low frame rate per second might move or tear. The DX8000 provides a global option for enabling deinterlacing
filtering to enhance the exported image for 4CIF recorded channels. In this case, the exported image is converted to 2CIF resolution. This setting
is effective for all channels, and cannot be set for enabling individual channels. For more information about the viewing video in the deinterlaced
mode, refer to Viewing Video in the Deinterlaced Mode on page 90.
To enable the deinterlacing filter:
1. Make sure the DVR is in Playback or Search mode by clicking or .
2. Click if you are in Live mode, or proceed to step 3 if you are in Search mode.
3. Click . The Export Video dialog box opens.
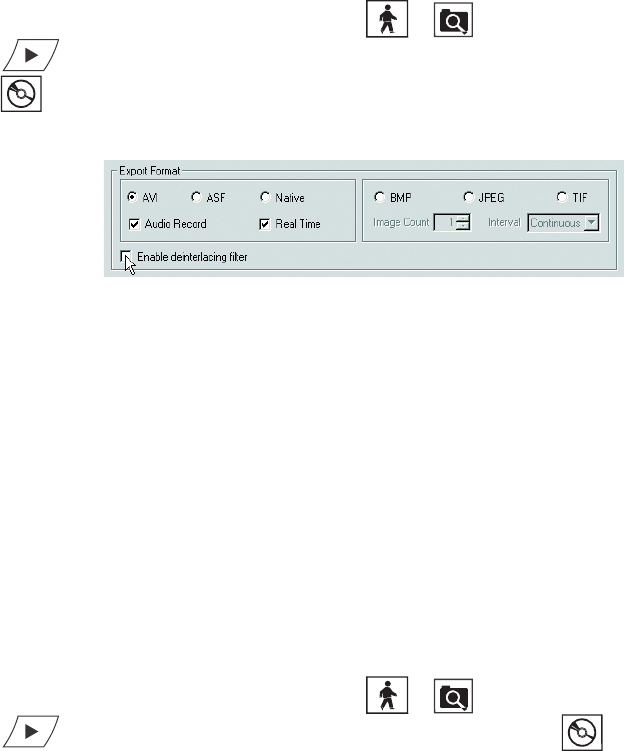
4. From the Export Format area, select the “Enable deinterlacing filter” check box.
.
Figure 62. Enabling the Deinterfacing Filter from the Export Video Dialog Box
MAPPING AND DISCONNECTING A NETWORK DRIVE
You can export sections of prerecorded video to a network drive. The DX8000 allows you to map to or disconnect from a network drive. In this
case, you must use the IP address of the target drive. The DX8000 allows you to use the host name of the target device. To do so, you must
enable NetBIOS option in the Windows environment. You need to know what letters are already assigned to drives and the path to the folder you
want to map.
This section describes how to map to and disconnect a network drive and includes the following topics:
• Mapping a Network Drive on page 94
• Disconnecting a Network Drive on page 95
MAPPING A NETWORK DRIVE
To map a network drive:
1. Make sure the DVR is in Playback or Search mode by clicking or .
2. Click if you are in Live mode, or proceed to step 3 if you are in Search mode. Click . The Export Video dialog box opens.
3. Click Map NetDrv. The Map Network Drive dialog box opens asking for a drive letter and path.
4. In the Drive drop-down box, select a drive letter that is not being used.
5. Type the path in the Folder drop-down box; \\IP_address_of_server\folder_name is an example.
6. (Optional) Click the “Reconnect at logon” box if you do not want the mapped drive to remain connected each time you logon.
7. Click Finish. The newly mapped drive is added as a remote drive and is displayed in the Device area. The mapped drive can now be
accessed just like a local drive.
