About installation and cabling
Issue 9.1 June 2006 105
If you are installing multiple G700s, continue building the stack. Up to 10 units can be linked
together (Figure 15: Cabling Multiple Units in a Single Rack
on page 113); these may be G700s
or Avaya C360 family switches.
At this point, you have mounted the G700 chassis in the rack and are ready to insert S8300
Media Servers and media modules as required in the planning documentation.
Inserting the Avaya S8300 media server
(if necessary for standalone service or LSP)
The S8300 Media Server is inserted into the G700 Media Gateway slot #1 (v1), whether it is the
primary server or configured as a Local Survivable Processor (LSP). The S8300 can only be
inserted in the slot (v1) on the left side of the G700 Media Gateway. The LED module must be
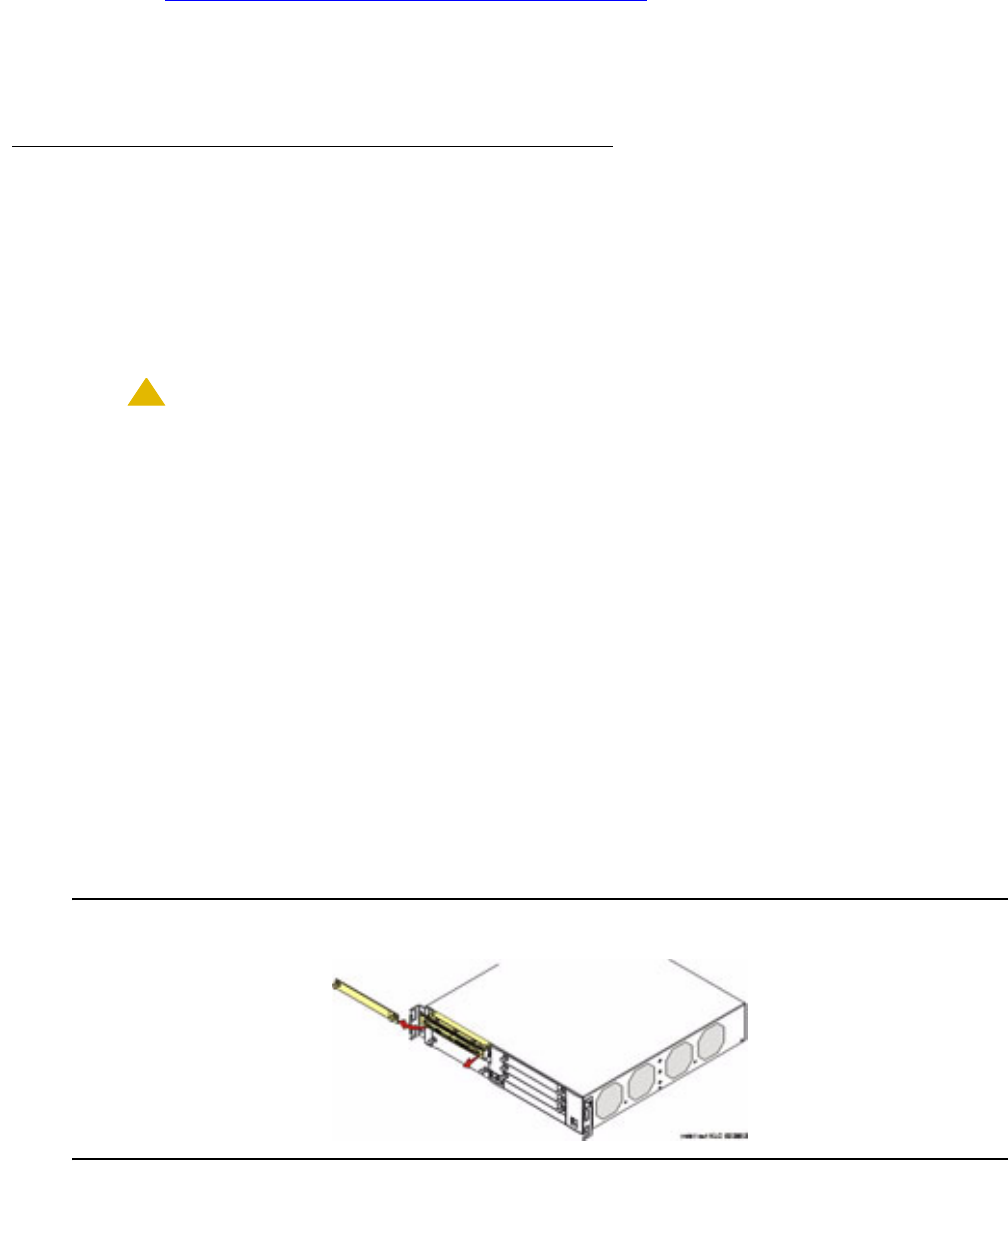
pulled from the G700 chassis to provide clearance for the S8300 Media Server.
!
CAUTION:
CAUTION: If you are removing an S8300, use the shutdown button to stop the operating
system (press and hold for 2-3 seconds). The OK to Remove LED will flash while
the shutdown is in progress and will turn steady green when it is safe to remove
the S8300.
Note:
Note: A G700 Media Gateway stack can contain more than one S8300 Media Server. In
this case, one S8300 Media serves as the primary controller and the other S8300
Media Server serves as an LSP. The LSP then uses the Octaplane connection of
its housing G700 Media Gateway for LAN accessibility.
To insert the S8300 into slot #1 of the G700 media gateway
1. Clear the left side of the G700 Media Gateway.
a. Remove the blank plate from slot #1.
b. Then, disengage the LED module and remove it from the G700 Media Gateway.
2. Line up the Avaya S8300 Media Server module squarely with its bay opening.
Figure 9: Clear the left side of the G700 Media Gateway
