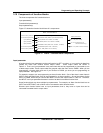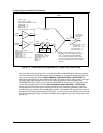
Online Operations Using Primary Displays
Video Recorder – User Manual 216
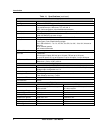
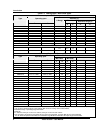
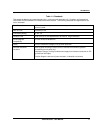
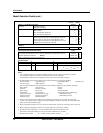
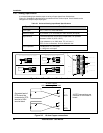
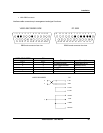
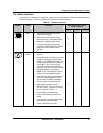
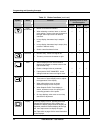
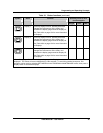
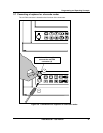
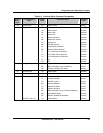
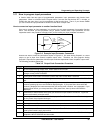
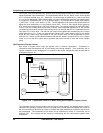
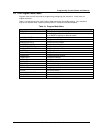
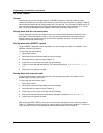
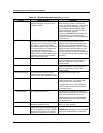
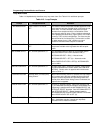
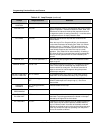
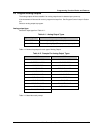
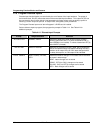
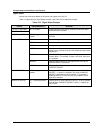
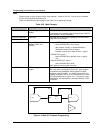
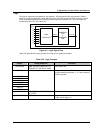
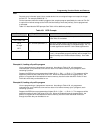
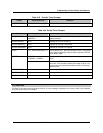
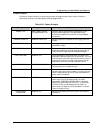
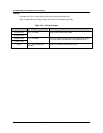
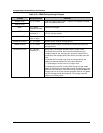
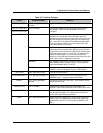
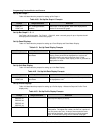
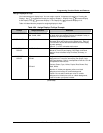
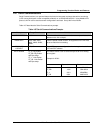
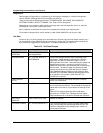
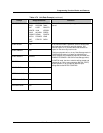
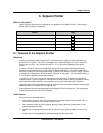
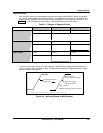
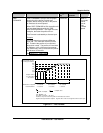
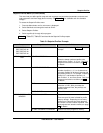
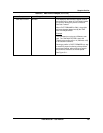
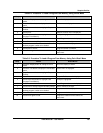
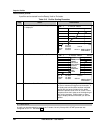
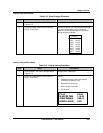
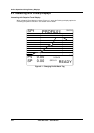
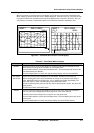
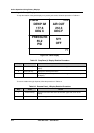
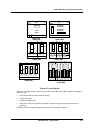
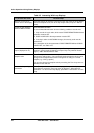
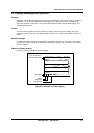
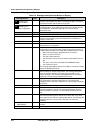
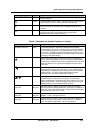
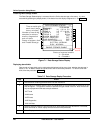
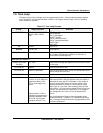
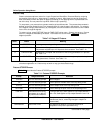
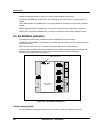
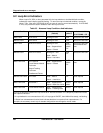
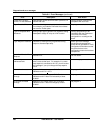
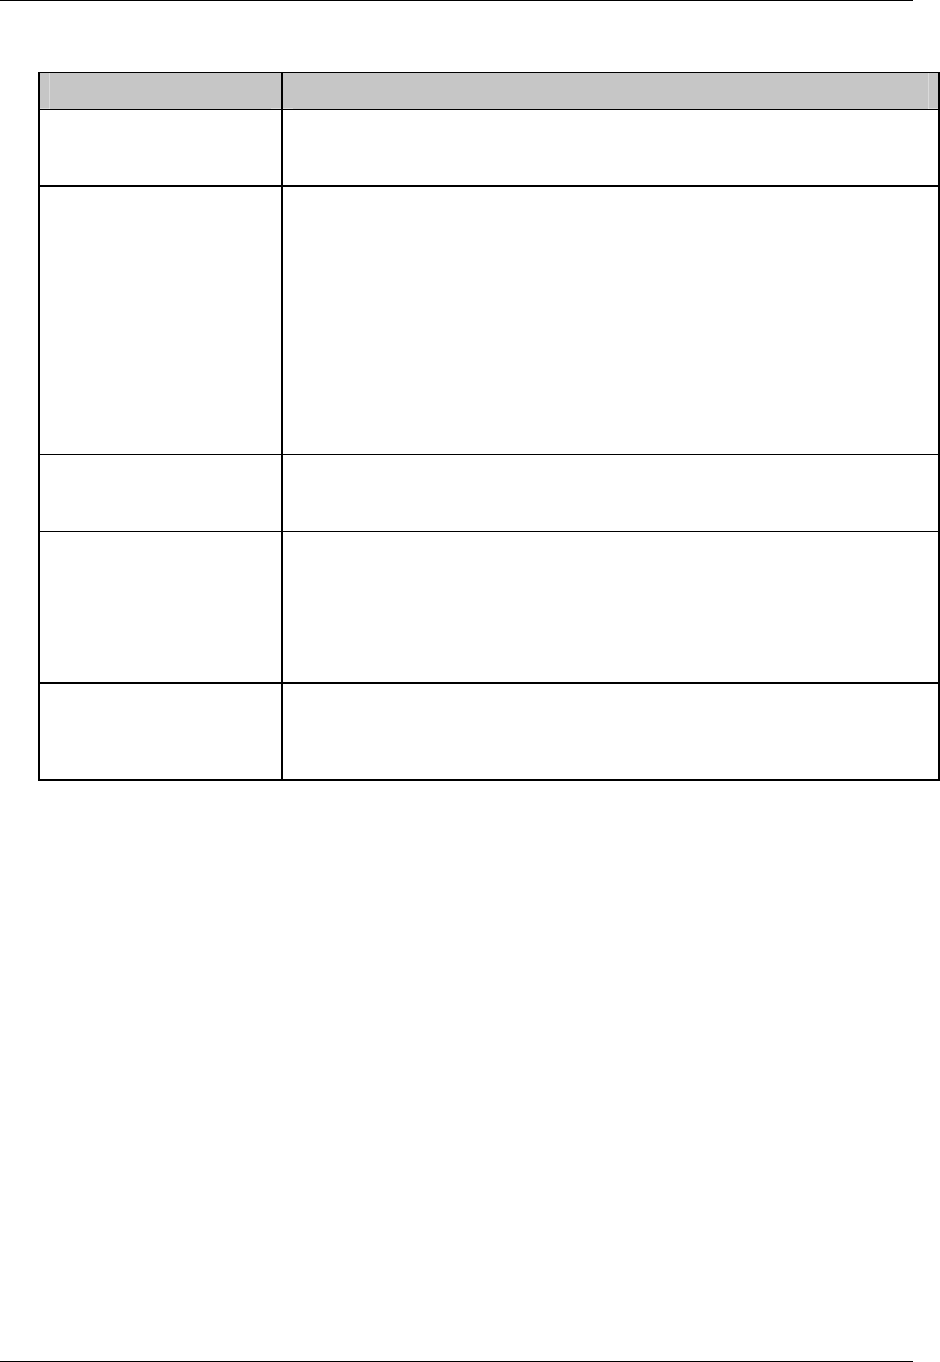
Table 6-5 Interacting With Loop Displays
To perform this action Do these steps
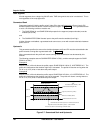
Move the cursor box to
another area of the display
Press the Tab key to move the cursor to the Loop Tag at the top of the display,
then to the setpoint value, then to the loop output value (if loop is in Manual
mode).
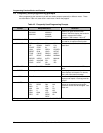
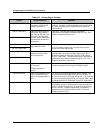
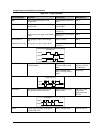
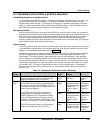
Toggle the loop between
Auto and Manual modes
Press Auto/Manual button.
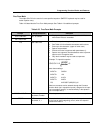
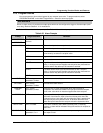
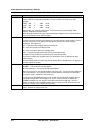
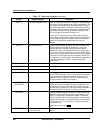
To use the Auto/Manual button all of the following conditions must be met.
1. Loop must be in Local mode, which means FORCE REMOTE MAN discrete
parameter must be OFF.
2. DISCR VS KEY SEL discrete parameter must be OFF.
3. If security is active for AUTO/MAN changes, the security code must be
entered first.
For a description of the loop parameters FORCE REMOTE MAN and DISCR
VS KEY SEL, see Table 4-10.
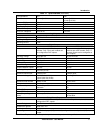
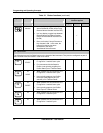
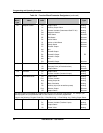
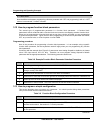
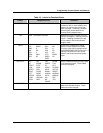
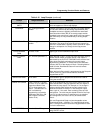
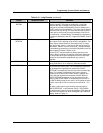
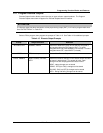
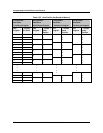
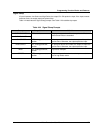
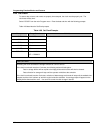
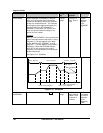
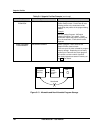
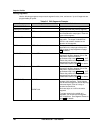
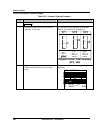
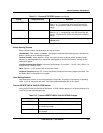
Lower or raise the loop
output (displayed as %).
Press Tab key to move cursor to loop output. To change the output, the loop
must be in manual mode (initiated by front panel key or by external discrete
signal )– not in Remote Manual mode.
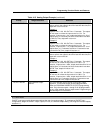
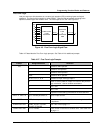
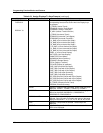
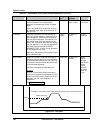
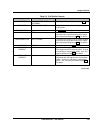
Increase or decrease
Setpoint value
Press Tab key until cursor is on the setpoint value. Press Increment and
Decrement to adjust value. Only numerically assigned setpoint values can be
changed online; Setpoint #2 cannot be changed if it is acting as a remote
setpoint (e.g. running a profile).
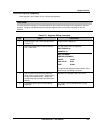
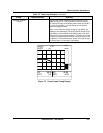
You can also change the setpoint value by accessing the Tune Loop menu as
described in the next row.
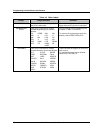
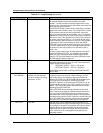
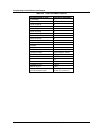
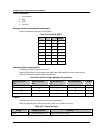
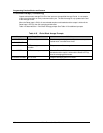
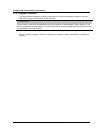
Access the loop tuning
parameters
Press Tab key until the cursor is on the loop tag at the top of the display.
Press Enter to access the Tune Loop menu for that loop. Adjust desired
parameters. To return to the loop display, press Menu. See Section 7.6 Tune
Loop.