Maintenance
Video Recorder – User Manual 247
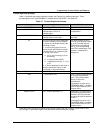
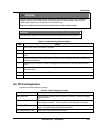
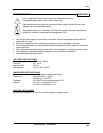
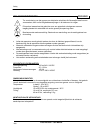
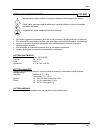
WARNING
Disconnect power to all terminals before connecting or disconnecting calibration leads. Hazardous
voltage is present on the mains terminals and may be present on other terminals. More than one
switch may be required to de-energize the unit before servicing.
Failure to comply with these instructions could result in death or serious injury.
NOTICE
Time-stamp and description of successful calibrations are stored to disk in the Event file.
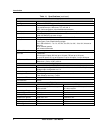
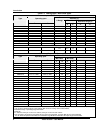
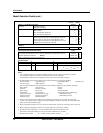
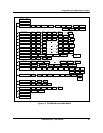
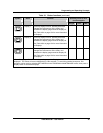
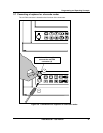
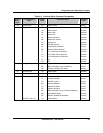
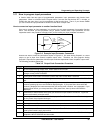
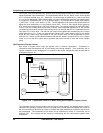
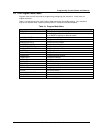
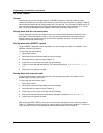
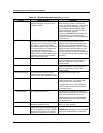
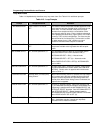
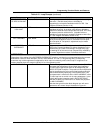
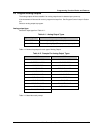
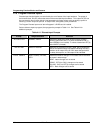
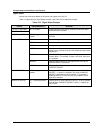
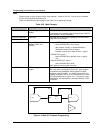
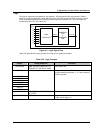
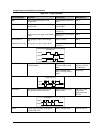
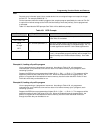
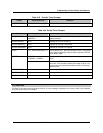
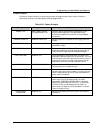
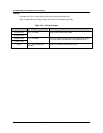
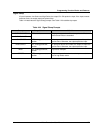
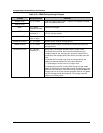
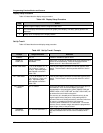
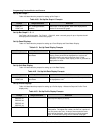
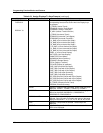
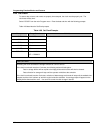
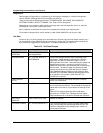
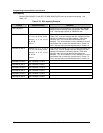
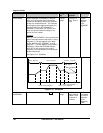
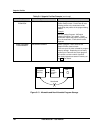
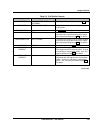
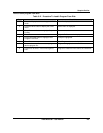
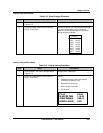
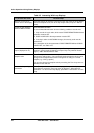
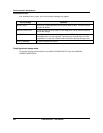
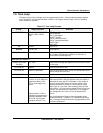
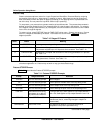
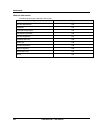
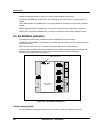
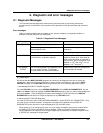
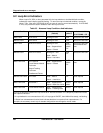
Table 8-2 Calibrate Analog Output Procedure
Step Action
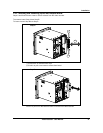
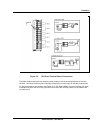
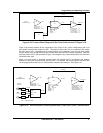
1 Connect the meter to the output #1 terminals.
2 Select CALIBRATE ANALOG OUTPUTS.
3
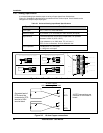
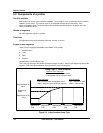
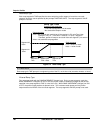
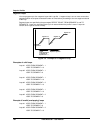
Select OUTPUT #1 LOW. The menu will disappear and the meter will read approximately 4 mA
(CAT).
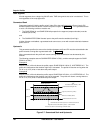
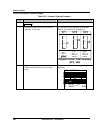
4
Use the Increment and Decrement buttons to adjust the meter reading to the exact low value 4 mA.
Press Enter when done.
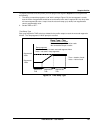
5
Select OUTPUT #1 HIGH. The menu will disappear and the meter will read approximately 20 mA
(CAT).
6
Use the Increment or Decrement buttons to adjust the meter reading to the exact high value. Press
Enter when done.
7 Repeat steps 1-6 to calibrate other CAT outputs.
8 Press Menu to restore the main Maintenance menu.
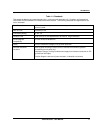
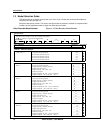
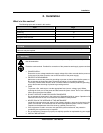
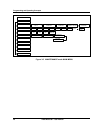
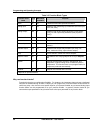
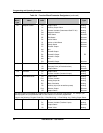
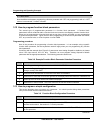
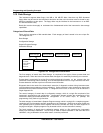
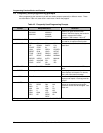
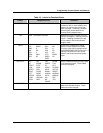
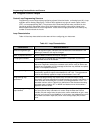
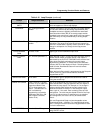
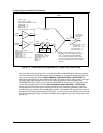
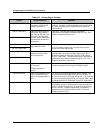
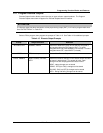
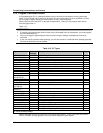
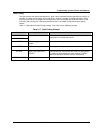
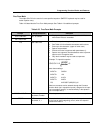
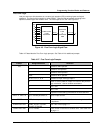
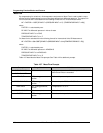
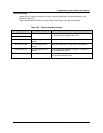
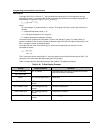
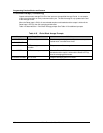
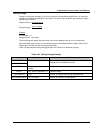
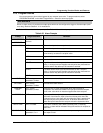
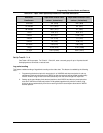
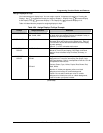
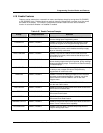
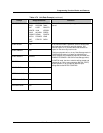
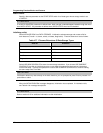
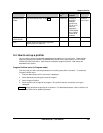
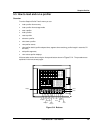
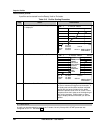
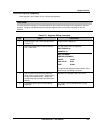
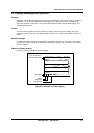
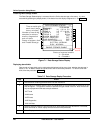
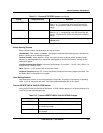
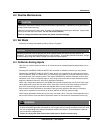
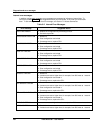
8.6 Off-line Diagnostics
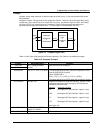
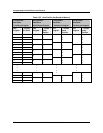
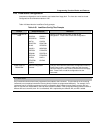
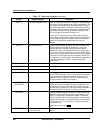
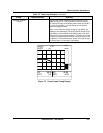
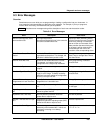
The following table describes the prompts.
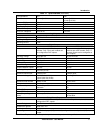
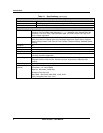
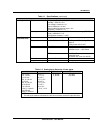
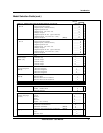
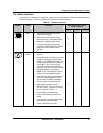
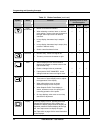
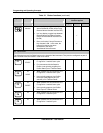
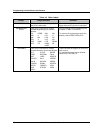
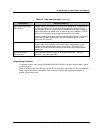
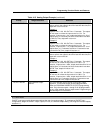
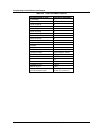
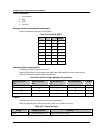
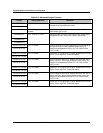
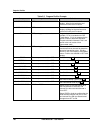
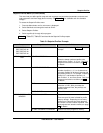
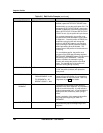
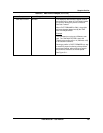
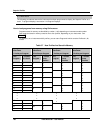
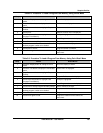
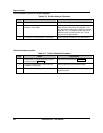
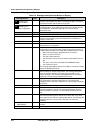
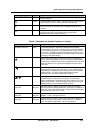
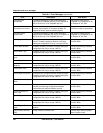
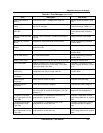
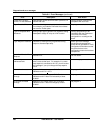
Table 8-3 Offline Diagnostic Prompts
Prompt Function
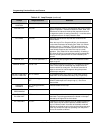
RAM SIZE (KB)
Shows amount of RAM found during power-up self-test. If less than 3072KB,
replace the CPU.
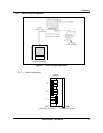
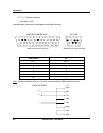
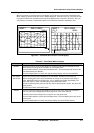
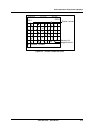
KEYBOARD TEST
Select this to verify operation of each key. When each key is pressed, its name
should appear onscreen. An AT keyboard can also be tested if connected.
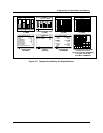
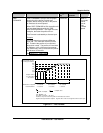
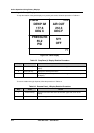
DISPLAY TEST
Select this then press Enter to test each display color: red, green, blue, white,
black. Any failed display pixels should be apparent.
DISK READ/WRITE TEST Select this to verify read/write disk function.