Programming and Operating Concepts
Video Recorder – User Manual 64
6. Draw the Feedback connection
To fully complete the function block diagram, one final and very important interconnection must be
drawn. In setting up control loops in this instrument, a feedback path must be specified between the loop
function block itself and the hardware element that externalizes the loop’s output to the real world. That
is, the control loop block needs confirmation from the analog output block connected to it that the percent
output levels it calls for have been correctly translated into accurate output signals. The feedback path
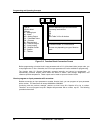
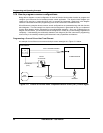
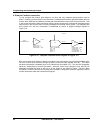
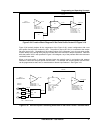
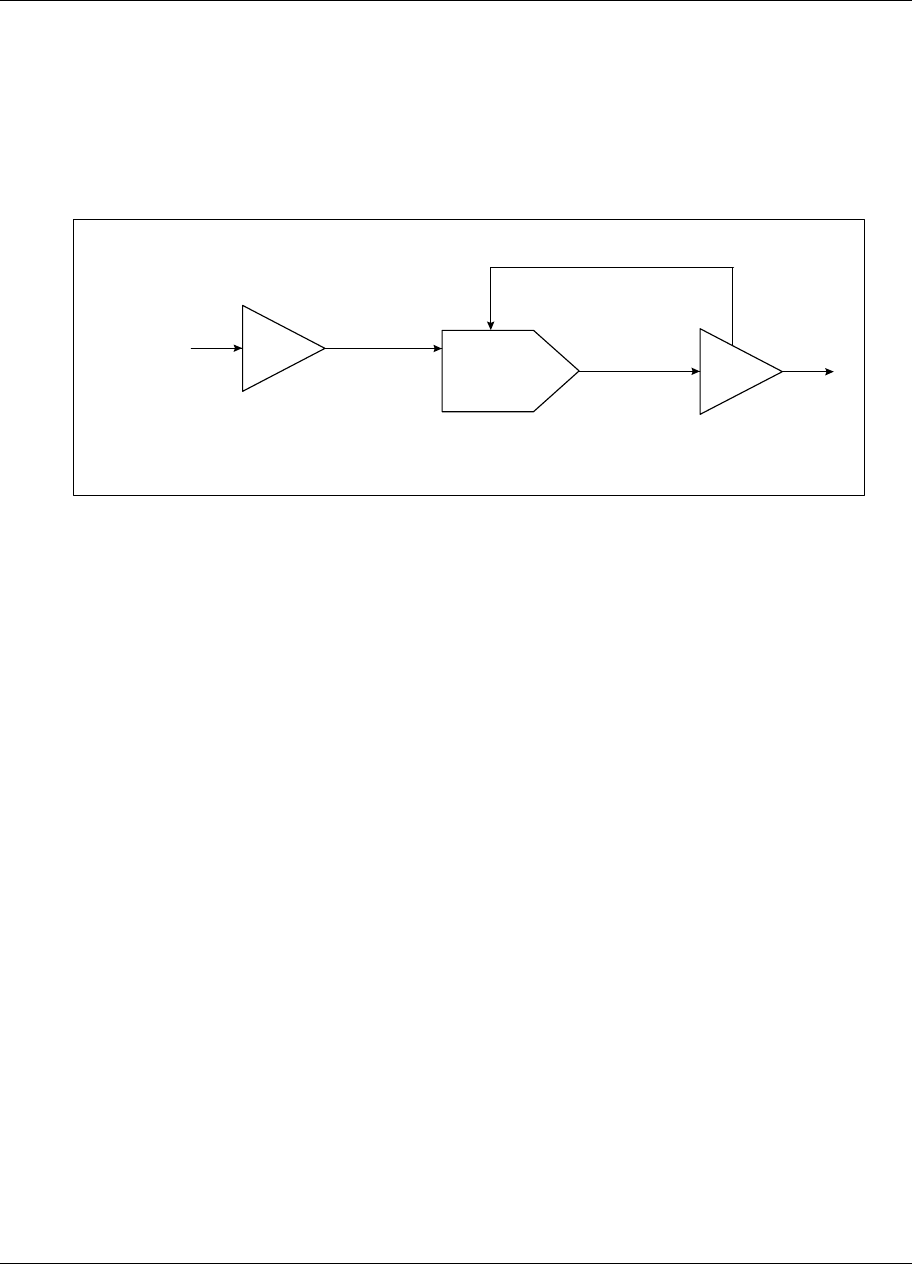
that provides LP1 with this confirmation is established by means of program settings depicted in
Figure 3-16.
AI1
TYPE J
THERMOCOUPLE
AI1 OV
INPUT TYPE = J
RANGE LOW = 0
RANGE HIGH = 1000
LP1
PV
LP1 OV
TYPE = STANDARD
SP1 = 500
GAIN = 10
RESET = 1
RATE = 0
AO1IN
4 TO 20 mA
OUTPUT TYPE = CAT
IN LOW LIMIT = 0
IN HIGH LIMIT = 100
OUT LOW LIMIT = 4
OUT HIGH LIMIT = 20
FB
AO1 BC
Figure 3-16 Complete Function Block Diagram Of Figure 3-11
Here, the function block diagram is drawn to include the key components of a typical loop feedback path.
The AO1 function block has been changed to feature a second output denoted “AO1 BC.” This output
has been connected to a feedback input at LP1 identified by the notation “FB.” The “AO1 BC” designator
stands for “Analog Output 1’s Back Calculation.” When the control loop is brought on-line, AO1 BC will
essentially represent the value of AO1’s 4 to 20 mA output at any particular instant. The term “Back
Calculation” is used to reinforce the idea that this information is being sent “upstream” against the flow of
all other information within the function block diagram.


