Online Operation Using Menus
Video Recorder – User Manual 223
How data is stored
To provide continuity of storage when the disk is removed, the data storage feature buffers data
internally for a period of time based on the storage rate and amount of storage data. Since storage files
and Setpoint program files may not be stored on the same disk, you can swap the storage disk with a
configuration disk for up to the buffered data time period while loading Setpoint programs without losing
storage data. When the storage disk is re-installed, or when another disk is initialized using the current
schedules, the buffered data will be transferred to the disk.
Initializing a disk
Initialization creates separate areas on the disk for each type of data to be stored. Data types that can
be stored are up to 3 Trends, Alarms, Events, Diagnostics, and Unit Data. You can initialize a disk
using the current storage schedule or using a new storage schedule.
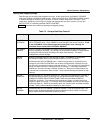
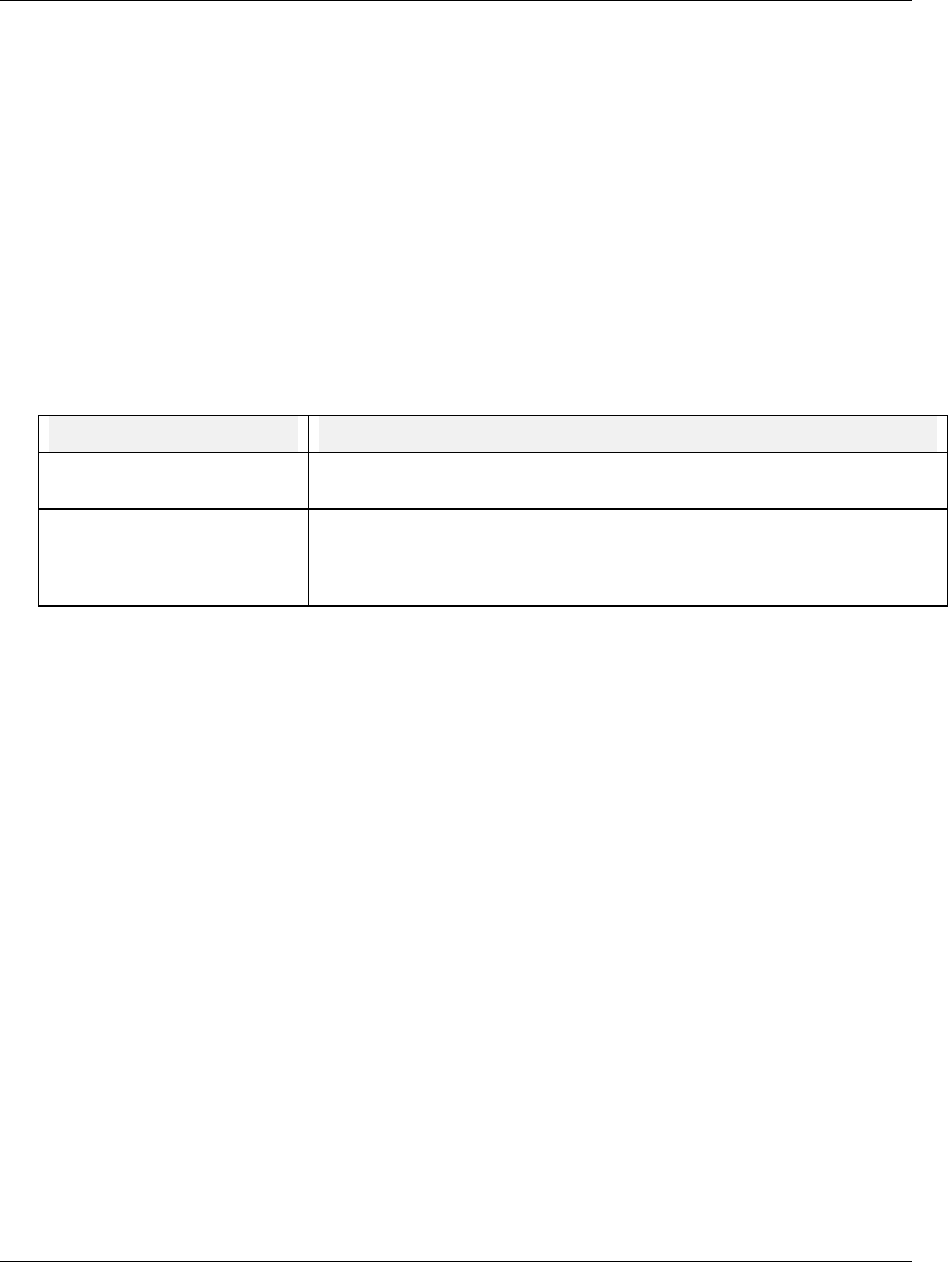
When data storage is active, the instrument determines the status of the disk. Status can be one of the
following possibilities.
Table 7-3 Disk Status
Disk status Result
The “current” disk was inserted
back into the drive.
The instrument will resume storage to this disk automatically.
Some other disk was inserted.
That is, disk is blank, contains
old data files or contains
configuration files.
In this case, a DISK NOT CURRENT message is displayed and data is
stored in a buffer, not on the disk.
Initializing a disk using the same storage setup
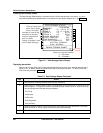
To continue storing the same data storage schedule on this disk, select the online DATA STORAGE
SETUP menu, select INITIALIZE DISK, then select USE CURRENT SCHEDULES. The instrument will
display a prompt asking for a yes or no response to initialize the disk. Initializing will destroy all
existing information on the disk. To shorten the initialization time, the disk should be pre-initialized on
a PC. With this prompt you can remove a disk inserted by mistake, or deliberately re-use an old disk
containing useless information. If you answer YES, the current schedule will be established on the new
disk, buffered data will be stored to the disk, and if any storage files are in batch mode, the batch
counter will be reset to zero(0).
Initializing a disk using a new storage setup
If you change any part of data storage schedule and you want the changed (new) schedule’s data to be
stored, select the online DATA STORAGE SETUP menu, select INITIALIZE DISK, then select USE
NEW SCHEDULES. To shorten the initialization time, the disk should be pre-initialized on a PC. All data
that was buffered since the previous disk was removed is lost. If you change the schedule but initialize
using the current schedule, the changed (new) schedule is not stored.


