Programming and Operating Concepts
Video Recorder – User Manual 62
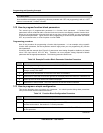
3. Label output parameters
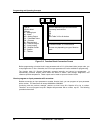
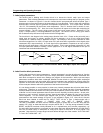
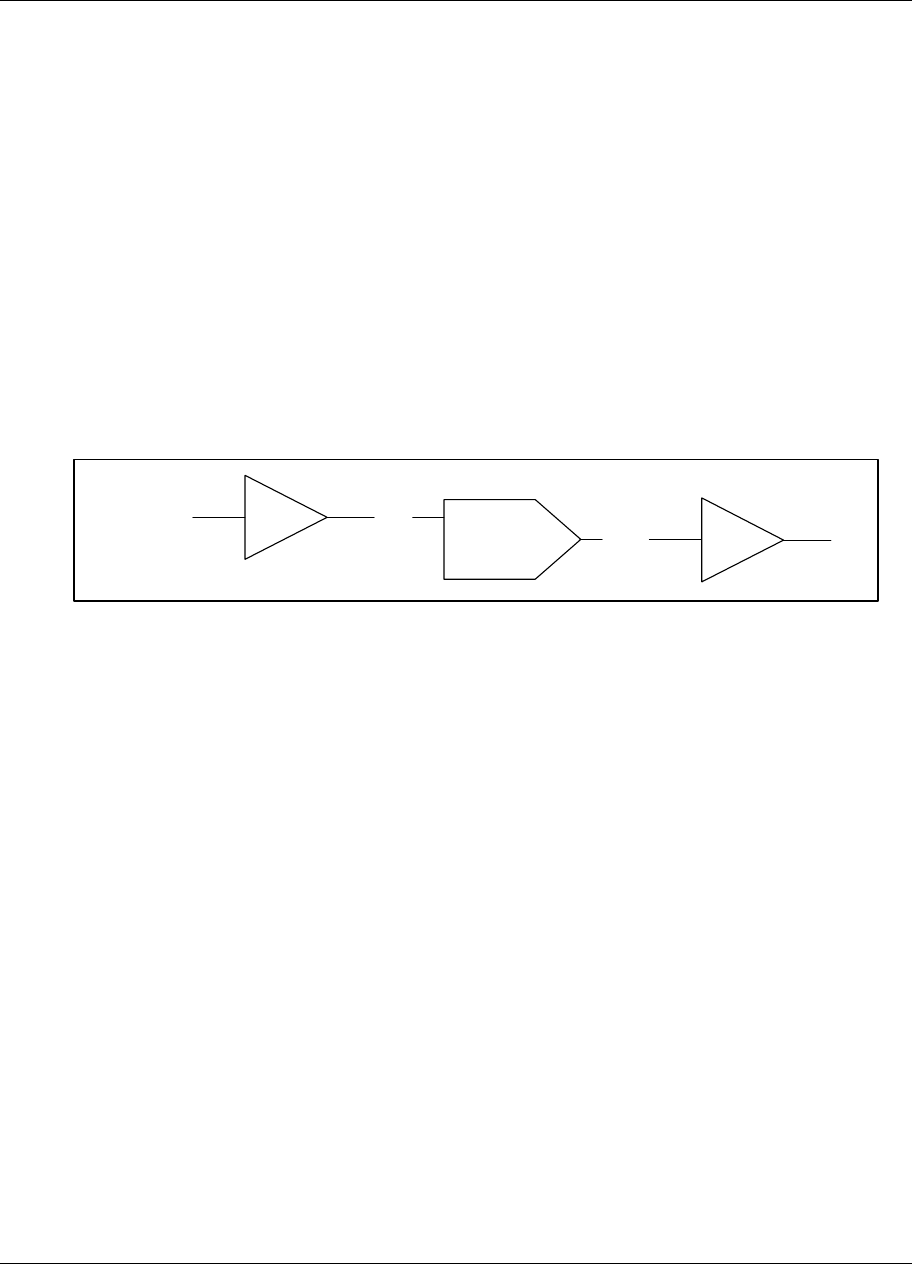
The second part in labeling each function block is to denote the blocks’ major input and output
parameters. Each of these parameters will correspond to actual menu settings that you program on the
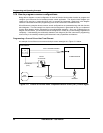
instrument. As shown in Figure 3-13, the AI1 function block’s input parameter will be the actual Type J
thermocouple run from the furnace to the instrument’s AI1 input terminals. The AI1 block will process the
thermocouple’s millivolt signal to generate a temperature measurement. AI1’s output value, denoted
“AI1 OV”, will essentially be the furnace zone temperature. The LP1 function block is shown, for now,
with one input denoted by “PV”. Here, the control loop block will expect to find the data comprising its
process variable. The LP1 block’s single output is the loop’s main control output. Denoted “LP1 OV
(Loop 1’s Output Value)”, it will range between 0 and 100%. The value of LP1 OV at any given instant
will be determined by the control loop function block’s PID algorithm.
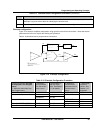
The last block in the diagram is the analog output function block, AO1. Drawn at this point with just a
single input and output, its primary purpose will be to generate a 4 to 20 mA signal that linearly
corresponds to whatever value is applied at its input. For example, if AO1’s input is defined as some
value that ranges from 0 to 100%, an input value of 0% will cause AO1 to generate a 4 mA signal at the
instrument’s AO1 output terminals. A 12 mA signal will be generated in response to an input of 50%,
while 20 mA will result when a 100% input value is applied. AO1’s input parameter is denoted “IN”, with
its output parameter labeled to identify it as the physical 4 to 20 mA signal detectable at the pair of
instrument rear terminals dedicated to AO1.
AI1
TYPE J
THERMOCOUPLE
AI1 OV
LP
PV
LP1 OV
AO1IN
4 TO 20 mA
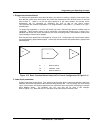
Figure 3-13 Labeling Each Function Block’s Name And Major Inputs And Outputs
4. Label function block parameters
Finally, label each block’s internal parameters. “Internal parameters” may also be referred to as “function
block parameters.” As in the case of input and output parameters, internal parameters associated with
each block correspond to actual menu settings you program in the instrument. While input and output
parameters constitute either data exchanged between function blocks or physical signals exchanged
between the instrument and the outside world, internal parameters are settings that uniquely define the
operation of the function block they are associated with. Use of a function block’s internal parameters is
for the most part limited to within the operations of the function block itself.
It is not always possible, or even practical, to draw every internal parameter that a function block has or
might need. Therefore, as a rule-of-thumb for starting out, you should first think of internal parameters
as simple labels that further define and clarify the internal operation of the function block. With this rule-
of-thumb in mind, internal parameters become items that are hopefully intuitively obvious. At this point,
what may or may not be an “intuitively obvious” internal parameter will depend on your level of process
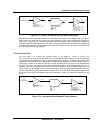
control expertise. For the function block diagram built up so far, internal parameters that can be
presumed from the control strategy of Figure 3-11 are indicated in Figure 3-14. Here, the AI1 function
block has been labeled to show that its “INPUT TYPE” will be a Type J thermocouple with a
measurement range between 0 (RANGE LOW) and 1000 ºF (RANGE HIGH).
The label “STANDARD” has been used to indicate the type of control loop LP1 will be, along with the
notation “SP = 500” to show that the loop’s set point will be 500 ºF. The loop tuning constants of GAIN,
RESET, and RATE have been initially indicated as 10, 1 repeat/minute, and 0 minutes, respectively. As
far as the AO1 function block is concerned, its input range has been defined between 0 (IN LOW LIMIT)
and 100 (IN HIGH LIMIT) in anticipation of using LP1’s output to drive the 4 to 20 mA signal it will
generate. Note how AO1’s output range has been defined through use of the notation “OUT LOW LIMIT
= 4” and “OUT HIGH LIMIT = 20.”


