3745 FRU Exchange Procedure
LIC Exchange Procedure
Removal Procedure: Since the LIC is hot-
pluggable, there is no need to power OFF.
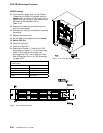
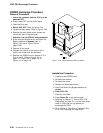
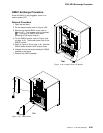
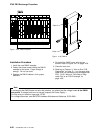
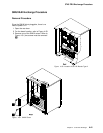
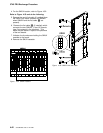
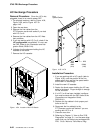
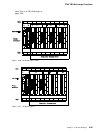
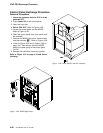
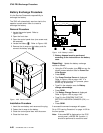
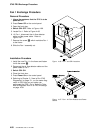
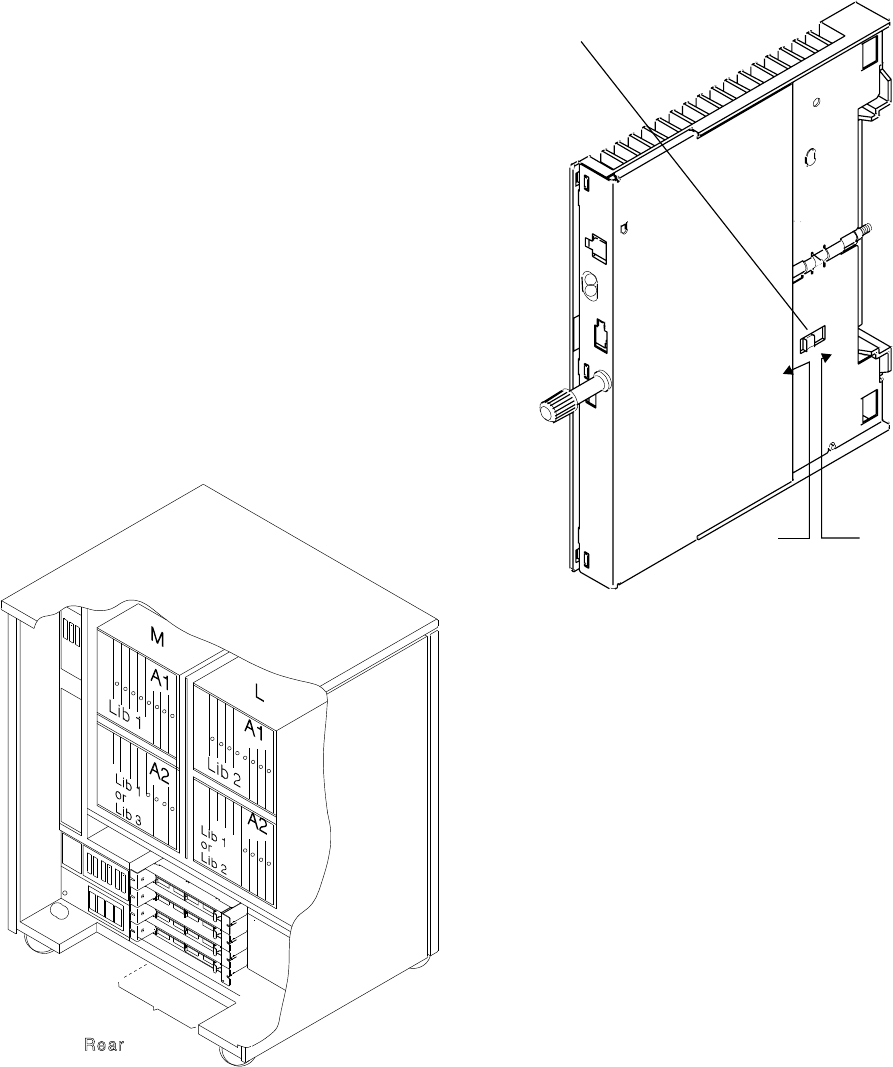
1. For physical locations, refer to Figure 4-54,
Figure 4-56, and to Figure 4-57 on
page 4-45.
2. Open the rear door.
3. Remove the line cables from the
PTT/Common carrier wall socket if you deal
with LIC 5 or 6.
4. Remove the line cables from the LIC. Note
their positions.
5. If you are working with LIC 5 or 6, check if the
LIC configuration is available.If it is not, use
the PKD (Refer to the
Connection and Inte-
gration Guide,
SA33-0141).
6. Unfasten the thumb screw holding the LIC
cassette to the board.
7. Remove the LIC cassette.
Figure 4-54. Location of the LIC Boards
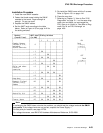
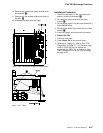
Line
Speed Switch
W
X
Y
BPS
19200
9600
(V24)
BPS
56000
(V35)
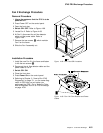
Figure 4-55. LIC 6
Installation Procedure
1. If you are working with a LIC type 6 (refer to
Figure 4-55), note the position of the line
speed switch, then set the line speed switch
of the new LIC accordingly.
2. Install the new LIC cassette.
3. Fasten the thumb screw holding the LIC cas-
sette to the board. Finger strength is enough.
Do not use tools.
4. If a LIC 5 or 6 has been installed, configura-
tion must be done with the PKD (refer to the
Connection and Integration Guide
,
SA33-0141).
5. Replace the line cables in their proper posi-
tions on the LIC.
6. Reconnect the line cable(s) to the
PTT/Common carrier wall socket if you are
working with LIC 5 or 6.
7. Close the rear door.
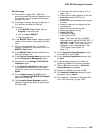
8. Referring to Chapter 3, “How to Run 3745
Diagnostics” on page 3-1, run the same diag-
nostic that you ran before you exchanged the
FRU. Go to “Action to Take After a Diag-
4-44 3745 Models 130 to 17A: MIP


