R/C Operation
82 AX2500/2850 Motor Controller User’s Manual Version 1.7. February 1, 2005
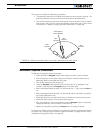
There are two methods for calibrating the joysticks:
• The automatic method is the simplest and is based on the controller “learning” the
joystick’s parameters using the simple training sequence described below.
• The manual method lets you enter actual timing numbers directly in the controllers
flash memory using your PC running the Roborun configuration utility. This method
is described in “Loading, Changing Controller Parameters” on page 162.
Automatic Joystick Calibration
To calibrate the joystick(s) follow these steps:
• Press and hold the Program button while resetting or power up the controller
• After 10 seconds, the controller will enter the Program mode and flash the first
parameter (I) and its value (0 if set R/C mode)
• Turn the R/C transmitter and receiver On
• Press the Program button several times until the letter “J” is displayed. If you
missed it, keep pressing the Program button for another cycle.
• When the display flashes the letter “J” followed by the “-” sign, press the Set but-
ton
• When the display flashes the letter “J” followed by “o”, the controller has entered
the joystick calibration mode
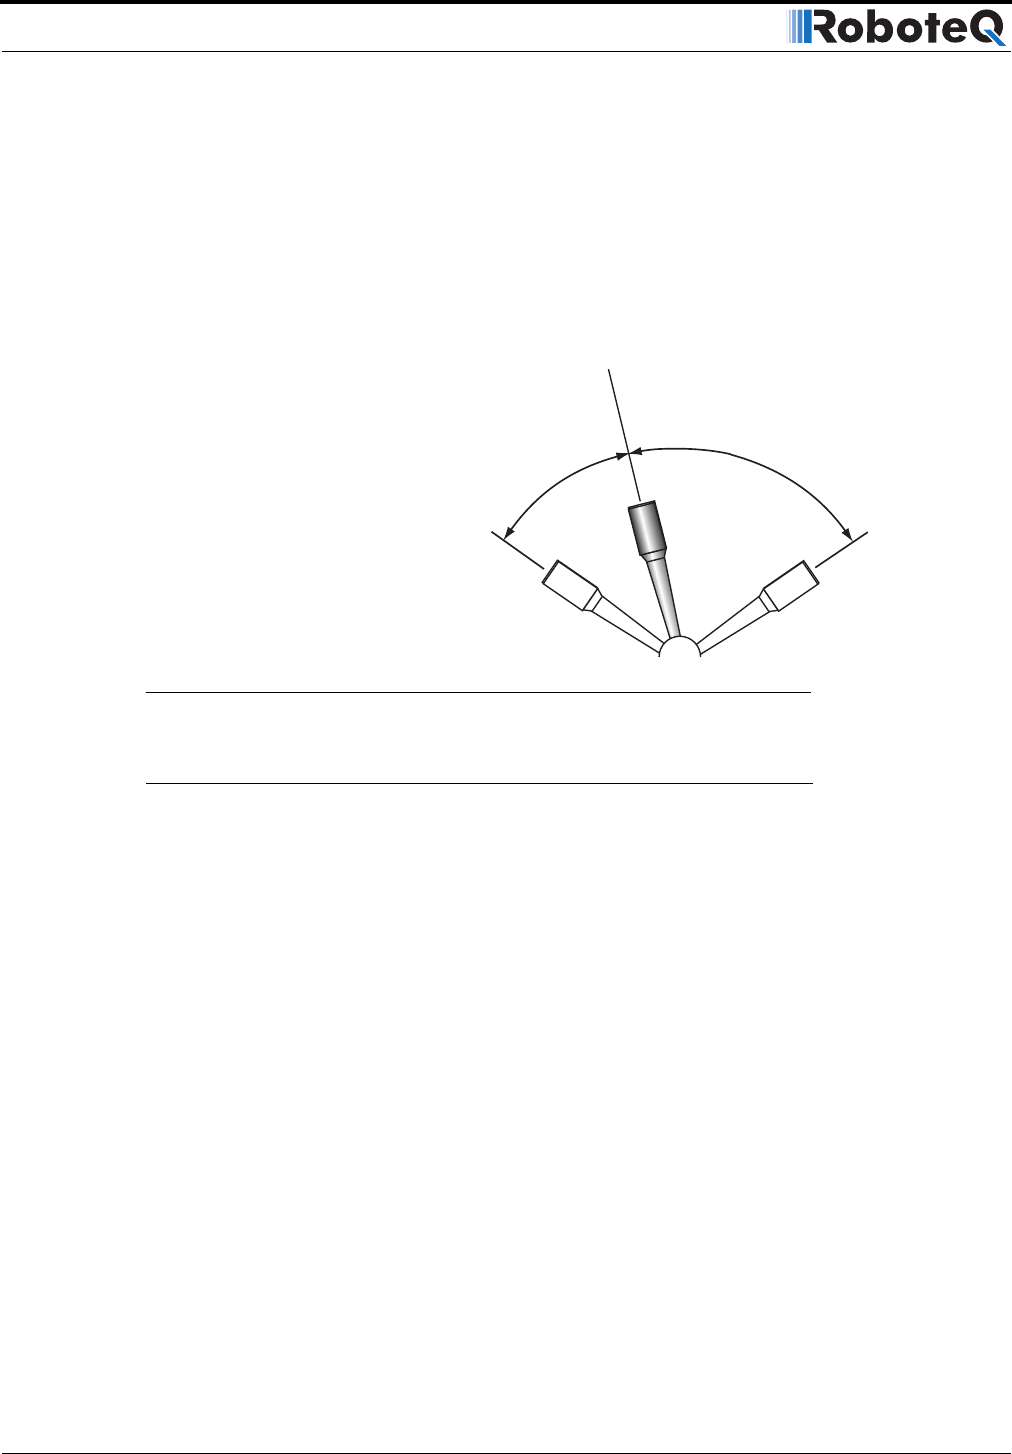
• Move each joystick to the desired minimum and maximum position several times
• Move back the joystick(s) to the desired center position
• With the joystick(s) in the center position, press the Program button to record the
change permanently in the controller’s Flash memory.
• Restart the controller by pressing the Reset button or cycling the power.
To reset the controller to factory default or to program the joystick’s positions using numer-
ical values, see “Configuring the Controller using the Switches” on page 153 and “Using
the Roborun Configuration Utility” on page 159.
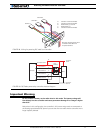
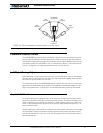
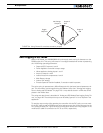
New Desired
Center Position
Min
Forward
Min
Reverse
Max
Forward
Max
Reverse
FIGURE 53. Calibration example where more travel is dedicated to forward motion


