


Chapter 13-IVR Services
13-38
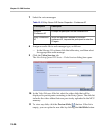
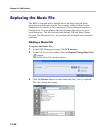
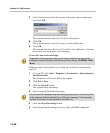
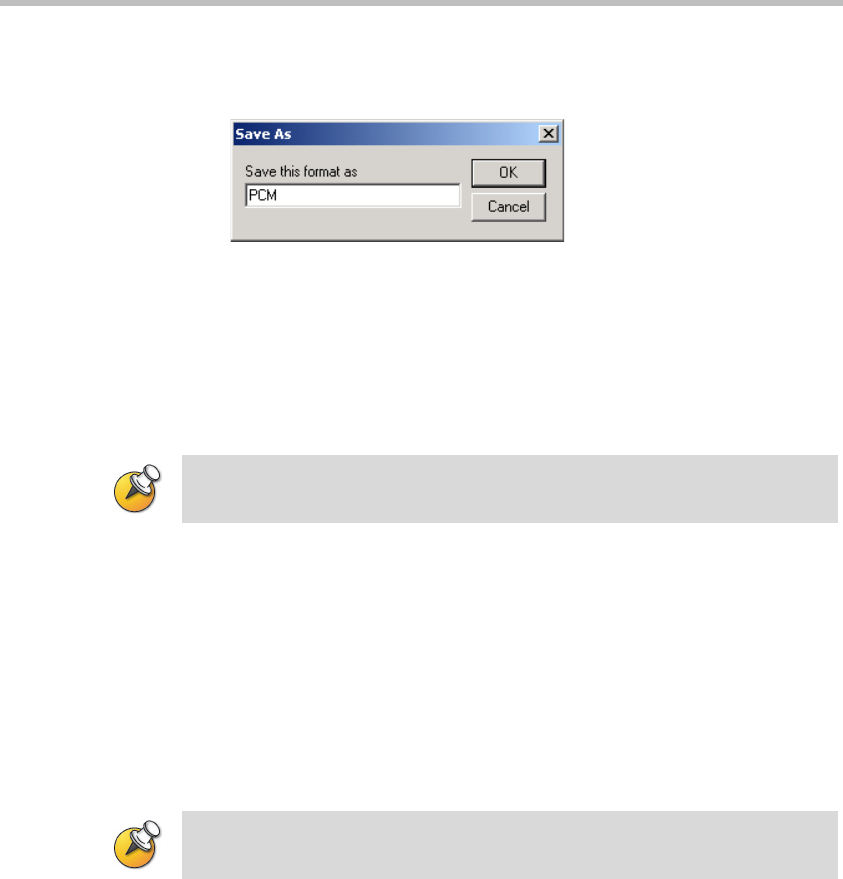
7 Select the location where the format will reside, enter a name and
then click OK.
The system returns to the Sound Selection dialog box.
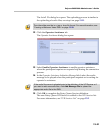
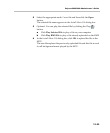
8 Click OK.
The system returns to the Properties for Sound dialog box.
9 Click OK.
The system returns to the Sound–Sound Recorder dialog box. You are
now ready to record your voice message.
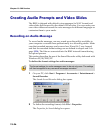
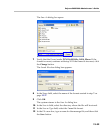
To record a new audio message:
Make sure that a microphone or a sound input device is connected to
your PC.
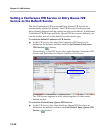
1 On your PC, click Start > Programs > Accessories > Entertainment >
Sound Recorder.
The Sound–Sound Recorder dialog box opens.
2 Click File > New.
3 Click the Record button.
The system starts recording.
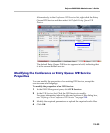
4 Start narrating the desired message.
5 Click the Stop Recording button.
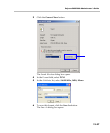
6 Save the recorded message as a wave file, click File > Save As.
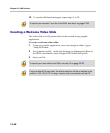
Regardless of the recording utility you are using, verify that any new audio
message recorded adheres to the following format settings: 16.000kHz, 16Bit,
Mono.
For all audio IVR messages, stop the recording anytime up to 3 minutes (which
is the maximum duration allowed for an IVR voice message). If the message
exceeds 3 minutes it will be rejected by the RMX unit.