


21 Memory Cassette
380
FX3G Series Programmable Controllers
User's Manual - Hardware Edition
21.4 Removal
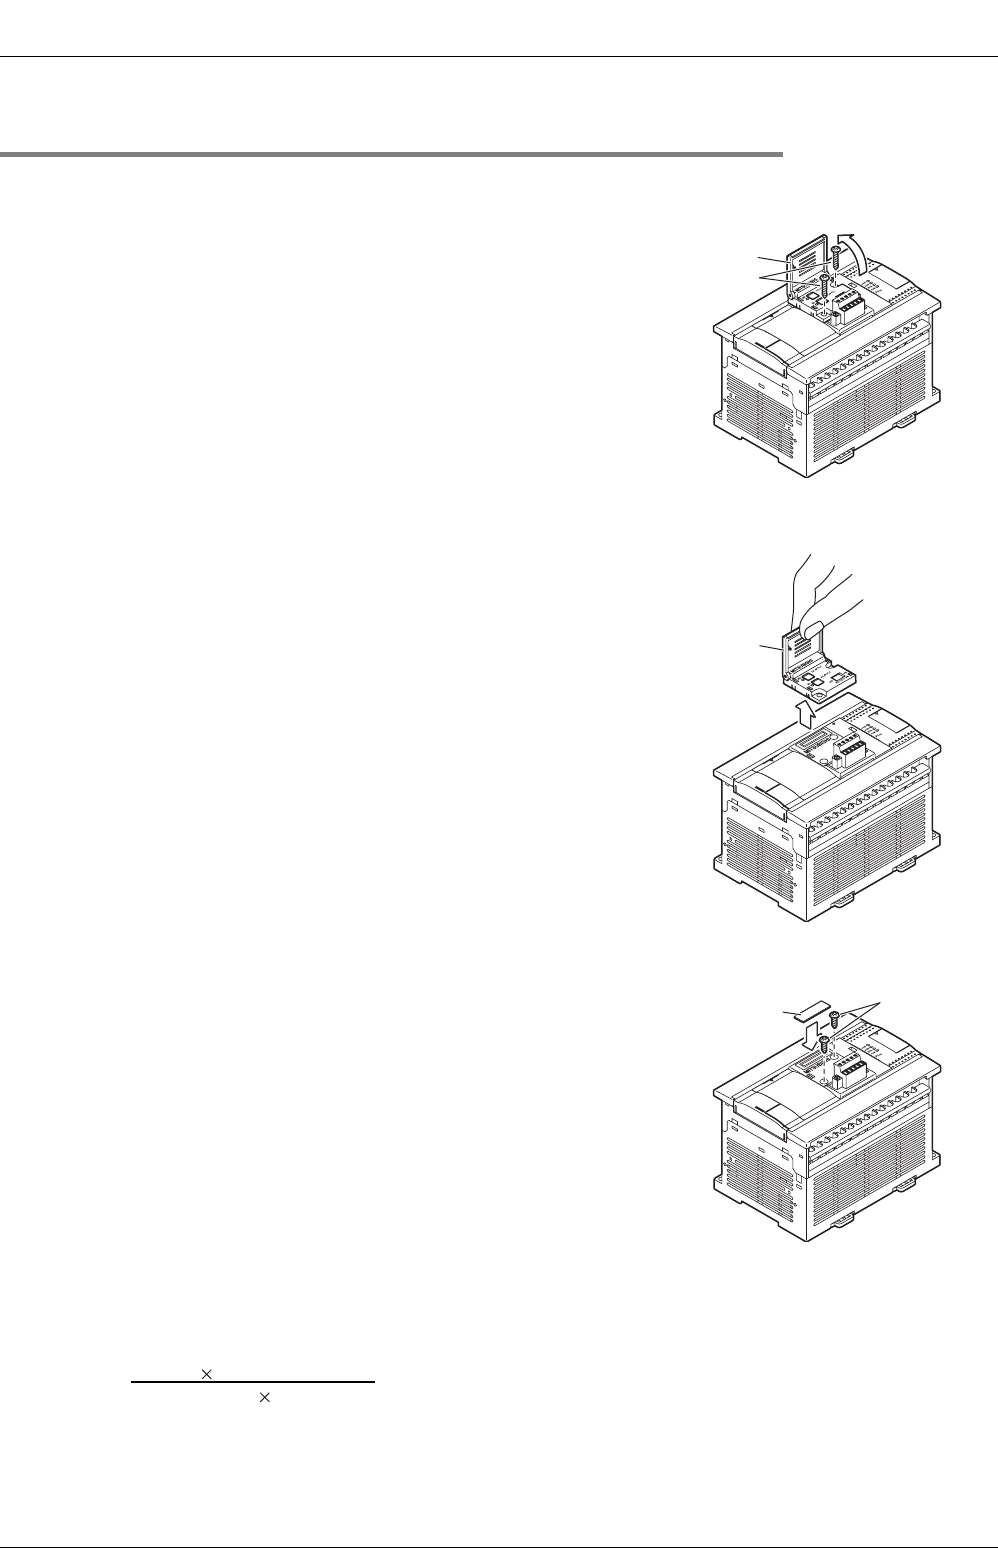
21.4.2 Removal
(when the expansion board/connector conversion adapter are used together)
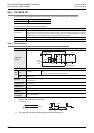
The FX3G-40MT/ES is used as the main unit and the expansion board is used together in this example.
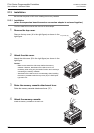
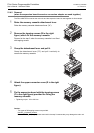
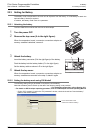
1 Raise the memory cassette detachment lever.
Raise the memory cassette detachment lever ("A").
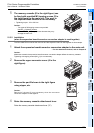
2 Remove the tapping screws (B in the right
figure) which fix the memory cassette.
Proceed to the step 3 when the memory cassette is not fixed
with tapping screws.
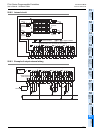
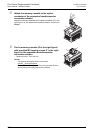
3 Grasp the detachment lever and pull it.
Grasp the detachment lever ("D") and pull it vertically to
remove the memory cassette.
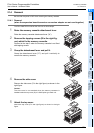
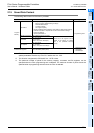
4 Attach the upper connector cover (E in the right
figure).
5 Fix the expansion board with the tapping screws
(F in the right figure) provided for fixing the
memory cassette.
• Tightening torque : 0.3 to 0.6 N•m
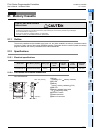
Caution:
- Two types of M3 tapping screws are provided.
Use M3 8 (shorter) screws.
Do not use M3 16 (longer) screws removed in the step 2 because they may damage the main unit.
A
B
1
3
D
E
F