Chapter 5 Samples and Sampling 159
CHAPTER 5
8.
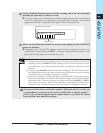
Hit the [SAMPLING] button again to start the recording, and at the same time begin
providing the input that you want to record.
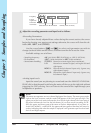
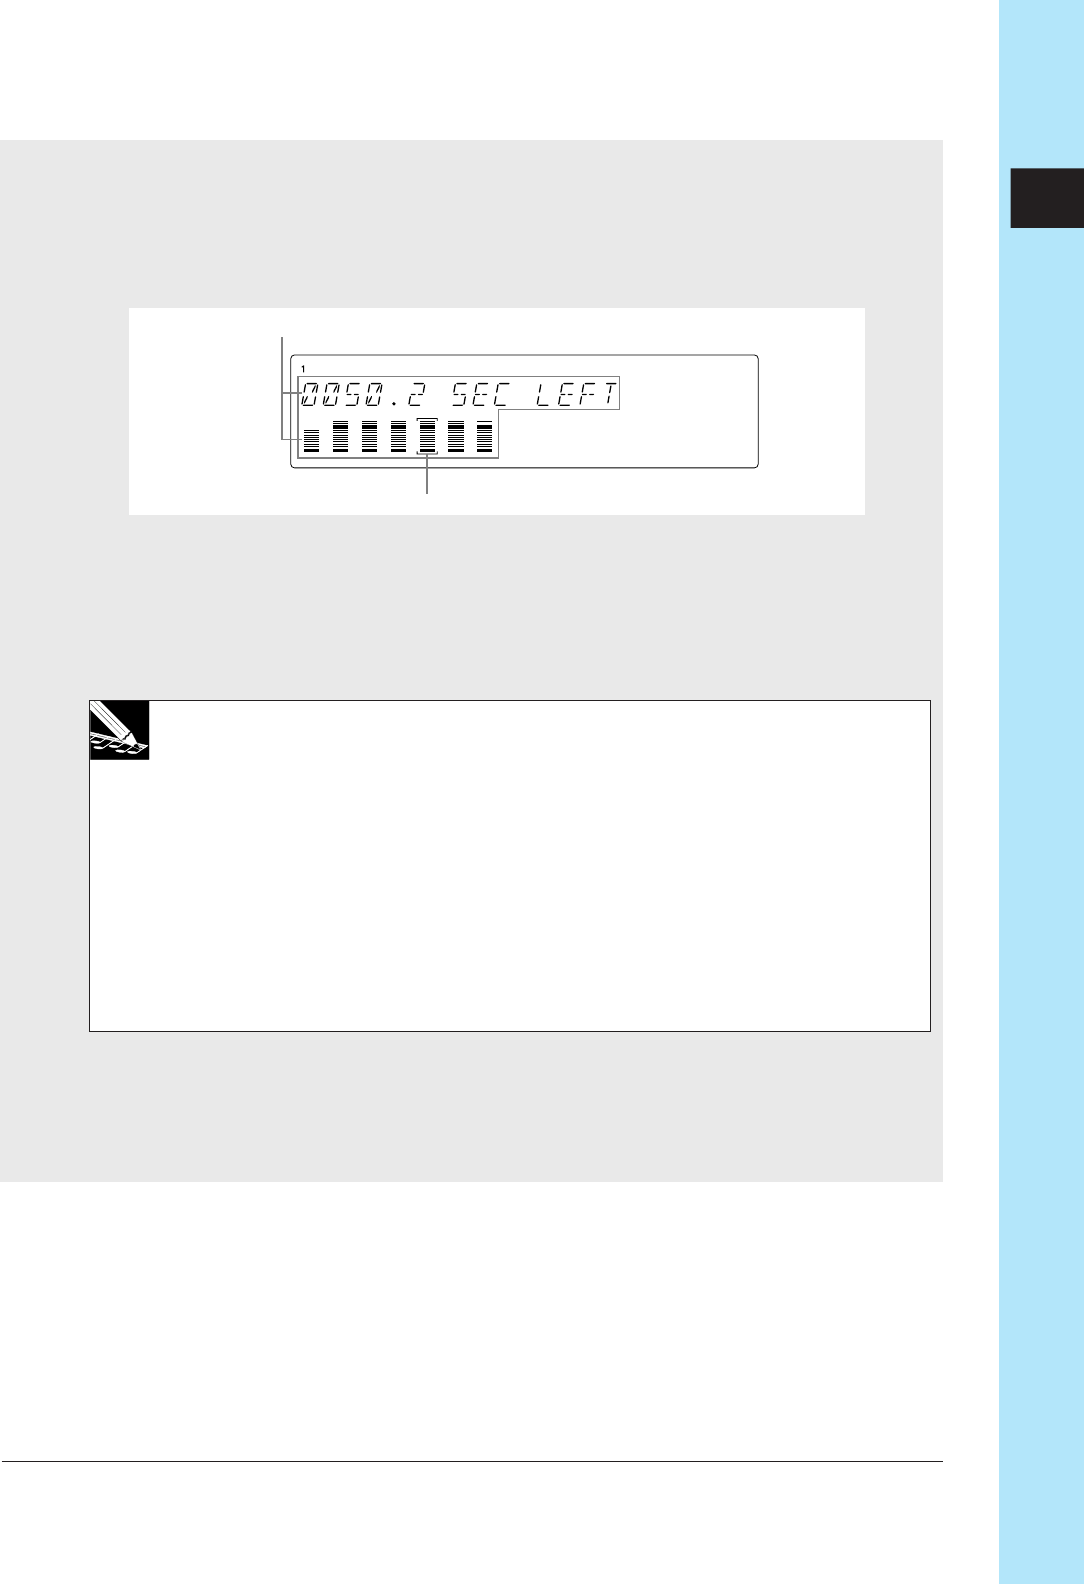
▼ The screen keeps track of remaining available sampling time as the recording pro-
ceeds. The meter area also operates as a remaining-time indicator, with vertical
segments switch off in sequence from right to left as time runs down.
9.
When you reach the point at which you want to stop sampling, hit the [SAMPLING]
button one last time.
▼ Sampling stops. If the SU700 requires significant time to post-process the new
sample data, it may display the WAIT... message. When post-processing is com-
pleted, the SU700 returns you to the main screen.
NOTE:
•
If sampling memory runs out while recording is in progress, the SU700 will terminate
sampling, display the
MEMORY FULL
message for several seconds, and then return
you to the main screen. The sound that you have recorded up to that point will be
retained.
•
If you press the [CANCEL] button to terminate recording, the SU700 will discard your
new data and return you to the track selection screen. If the track you were recording
to already contained a sample, that sample is retained.
•
If you have recorded to a LOOP track but the recorded length is too short or too long,
the screen will display the CANNOT FIND LOOP message. (See “Recording Samples
onto Loop Tracks,” above.) In this case you must press either [CANCEL] or [OK] to
return to the main screen. The SU700 discards the recorded data and returns you to
the main screen. If the track already contained a sample, that sample is retained.
10.
You can now listen to the sound of the sample by hitting the pad. If you wish, you
can immediately proceed to use the various SAMPLE jobs to edit the sample (→
p.259), and you can investigate how the sample sounds as you adjust the various
knob-function values and effects settings.
Selected track.
Remaining time indicators


