APPENDIX
Installing the Options 315
4.
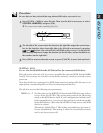
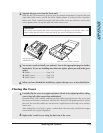
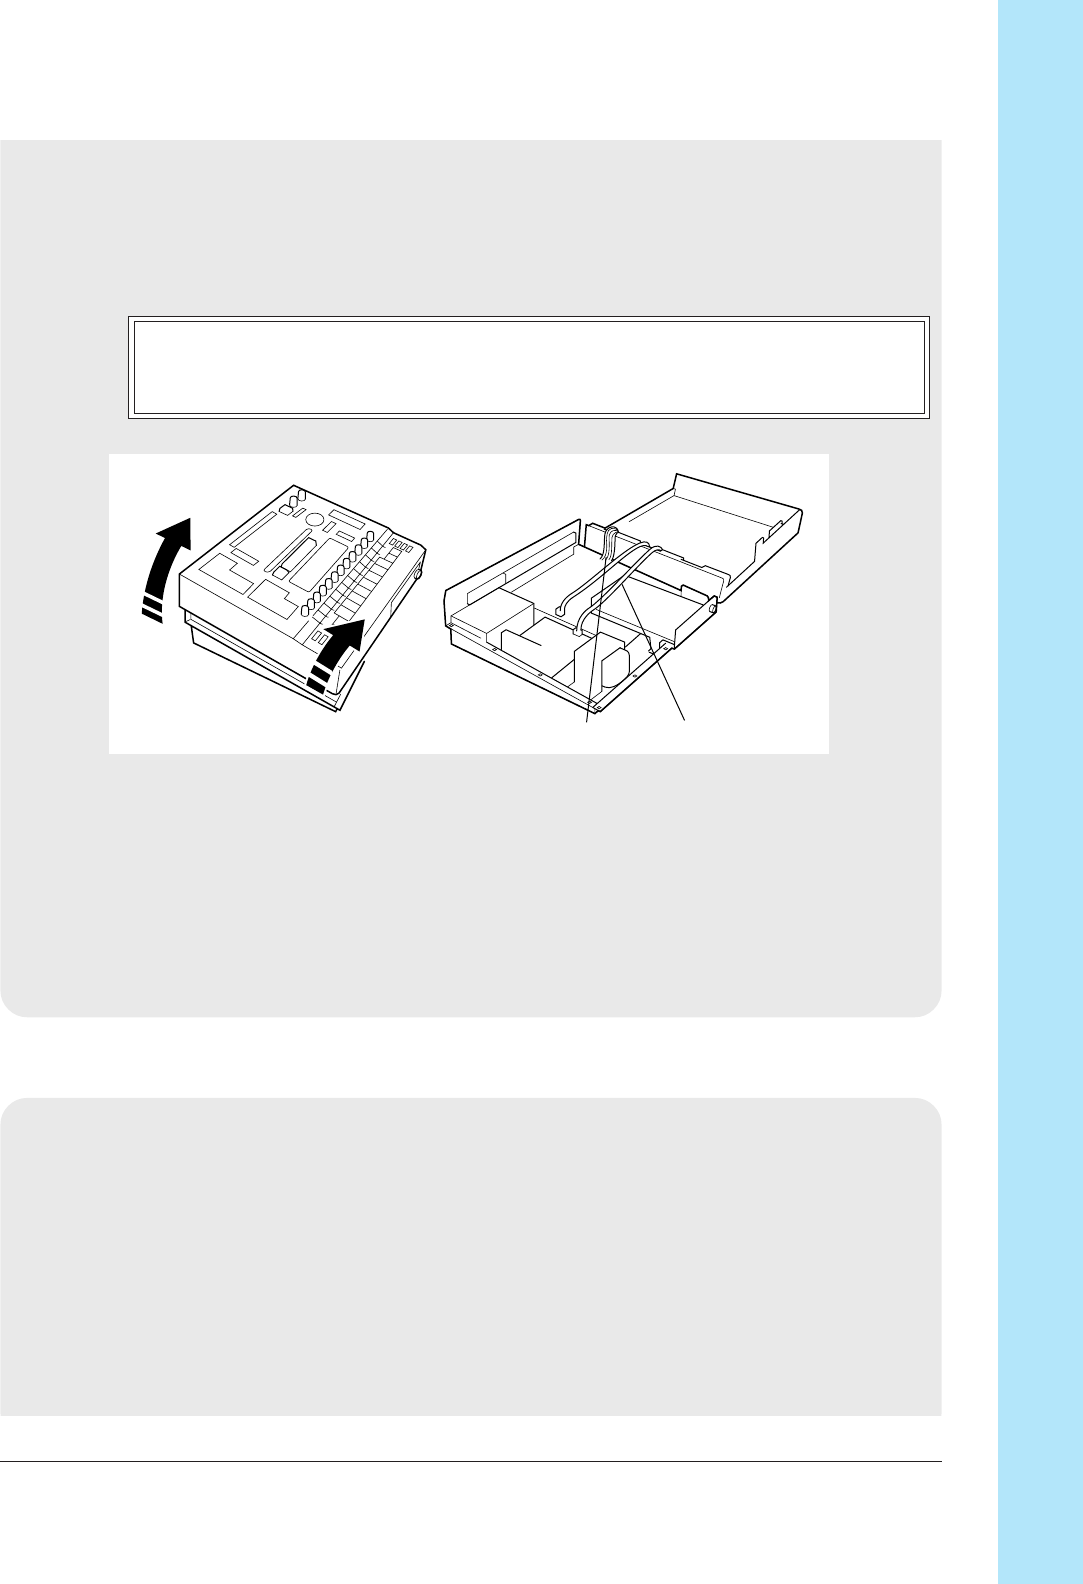
Separate the top cover from the lower unit.
Slide the SU700 around so it is facing you (its normal orientation). Grasp the left and
right sides of the cover, and lift the cover slightly (about 2 inches) to free it from the
lower unit. Then carefully bring the left side of the cover up and over, and lay the
cover upside-down along the right side of the lower unit.
IMPORTANT
Be careful not to disturb the cables running between the top cover and the lower unit;
these cables should remain connected during the entire installation procedure.
5.
You are now ready to install your option(s). Turn to the appropriate page for further
instructions. (If you are installing more than one option, please proceed in the given
order.)
▼ SIMMs............................... Page 316
▼ AIEB1 board ...................... Page 319
▼ ASIB1 board ...................... Page 323
6.
When you have finished the installation, replace the top cover as described below.
Closing the Cover
1.
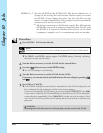
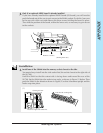
Carefully flip the cover over again and place it back in its original position, taking
care to keep all cable connections undisturbed.
Proceed slowly and carefully, making sure that cables running between the cover and
the lower unit remain connected, and that the cables fall into proper position within
the unit. Be sure that cables do not become caught between the top cover and the
lower unit.
After setting the cover back in place, confirm that it fits correctly, and that the empty
screw holes are in good alignment.
2.
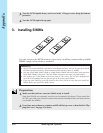
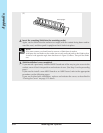
Replace the 3 small screws along the back rim of the cover.
Lift up a few inches
and then filp over.
These wires must remain connected.


