


Chapter 10 Jobs 269
CHAPTER 10
Procedure
Be sure that you have selected the song containing the sample(s) you want to work on.
1.
Press SAMPLE | PROCESS.
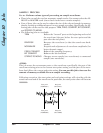
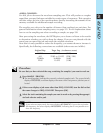
▼ The track brackets indicate the currently selected sample track. The screen briefly
displays PROCESS, and then displays the name of the last process job that you se-
lected.
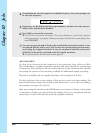
2.
If the screen displays a job name other than BIT CONVERT, turn the dial so that the
name changes to BIT CONVERT. Then press [OK].
3.
Select the track containing the sample you want to work on by pressing the appropri-
ate bank selector and/or pad.
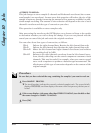
NOTE:
If you select an empty track, the screen displays
NO SAMPLE
. If you select a sample
that has 8-bit resolution, the screen displays
IMPOSSIBLE
, indicating that it is not pos-
sible to reduce the resolution. In either case, you can simply select a different sample by
pressing the appropriate bank selector or pad, or you can cancel by pressing the [CAN-
CEL] key as necessary.
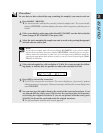
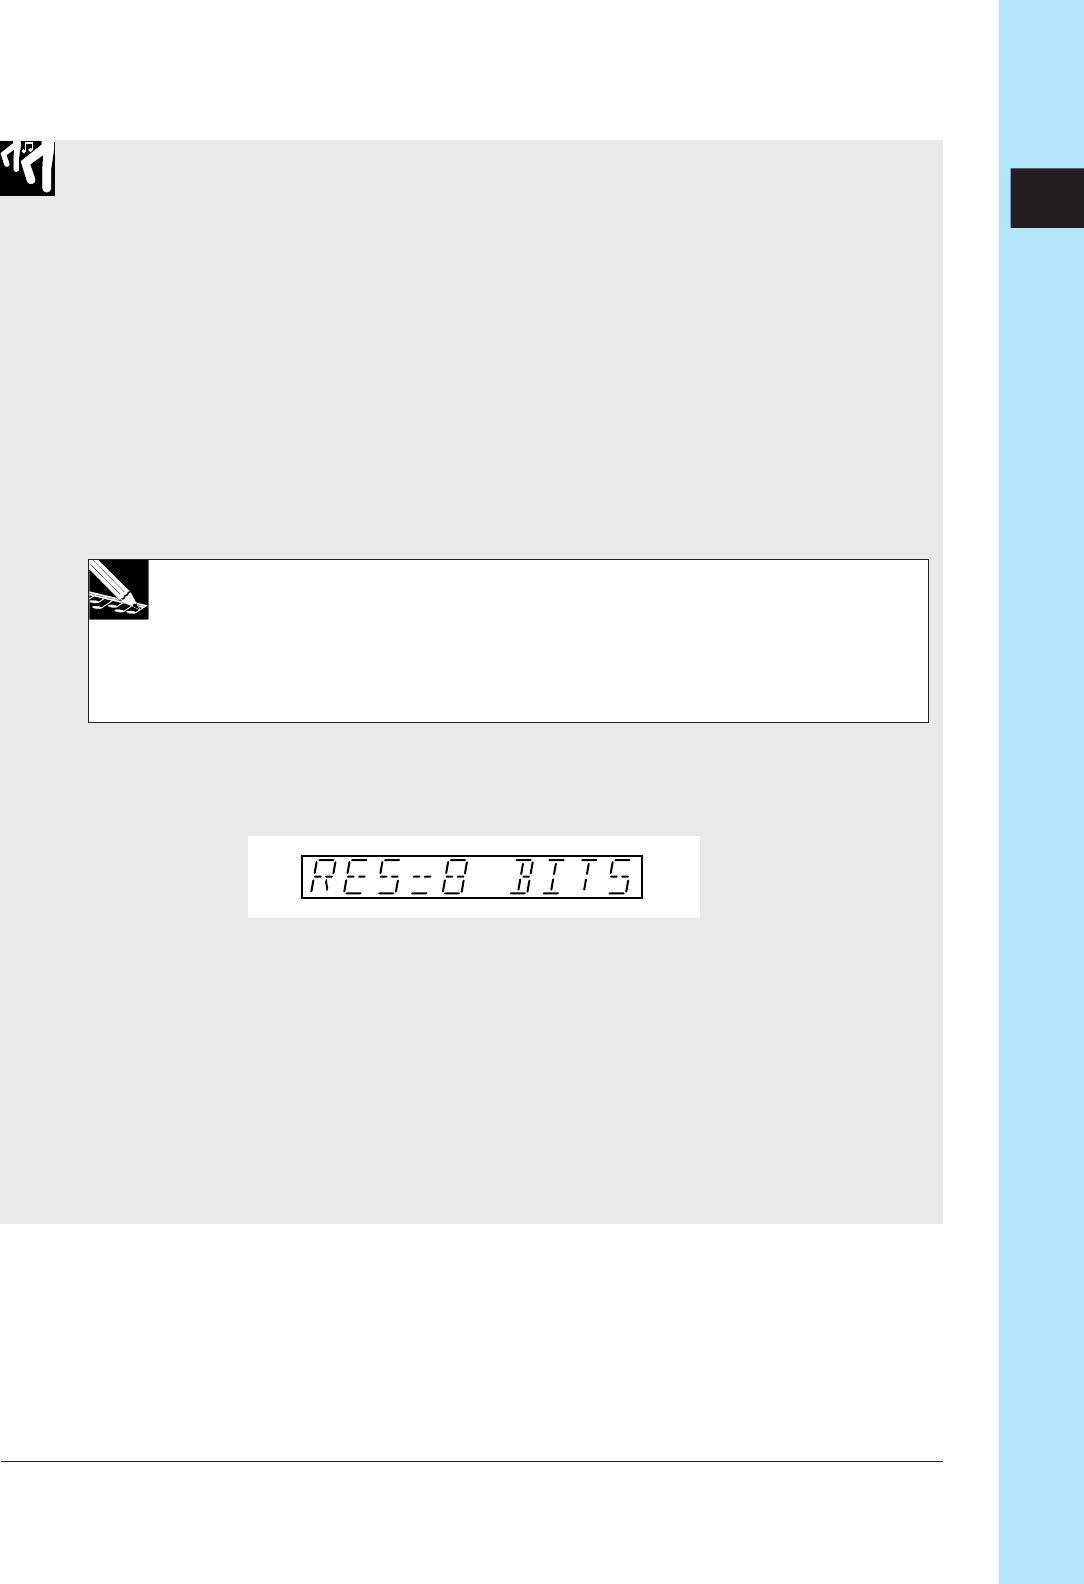
4.
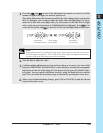
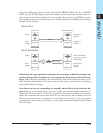
If the selected sample has a bit resolution of 16 bits, the screen presents the follow-
ing display to indicate that it is possible to reduce the resolution to 8 bits.
5.
Press [OK] to execute the conversion.
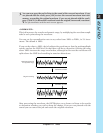
▼ The SU700 converts the waveform. The screen displays a “processing” pattern
while processing is in progress. When processing is finished, the screen displays the
word FINISHED.
6.
You can now press the pad to listen to the sound of the converted waveform. If you
are pleased with the result, press [OK] to store the waveform into track memory,
overwriting the original waveform. If you are not pleased with the result, press
[CANCEL] to discard the result and retain the original waveform.
▼ The job terminates and the main screen appears.