


Chapter 2 Tutorial
54 Chapter 2 Tutorial
NOTE:
If you are recording to a digital input on the optional AIEB1 board, the parameter set-
tings and level settings are fixed.
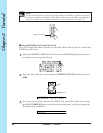
8.
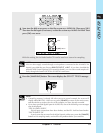
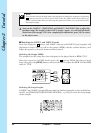
After you have finished setting the level, press the [SAMPLING] button on the SU700
to begin recording. To stop sampling, press the button once again.
●
Track 79 repeats the same phrase four times. You can sample at any location that is
convenient.
NOTE:
You generally want to include excess material at the beginning and end of your record-
ing. This will allow you to freely edit the playback start points and end points to get just
the area you need.
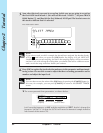
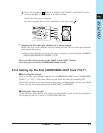
◆ Recording begins. The screen keeps track of remaining free sampling time as re-
cording proceeds.
NOTE:
• If you run out of memory while sampling, the display will indicate “MEMORY FULL,”
and sampling will end automatically.
• You can press [CANCEL] to cancel the recording and return to the
SELECT TRACK
screen. If you cancel before concluding the recording, the previously existing sample
on the target track (if any) will be retained.
• (For LOOP tracks only): If the recorded length is too short or too long, the screen will
display the CANNOT FIND LOOP message. In this case you must press either [CAN-
CEL] or [OK] to escape: the SU700 will discard the recorded data and return you to
the main screen. If the track already held a sample, that sample is retained.
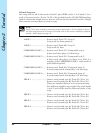
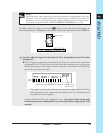
9.
After recording the part of the sample that you want to use, press the [SAMPLING]
button to stop recording.
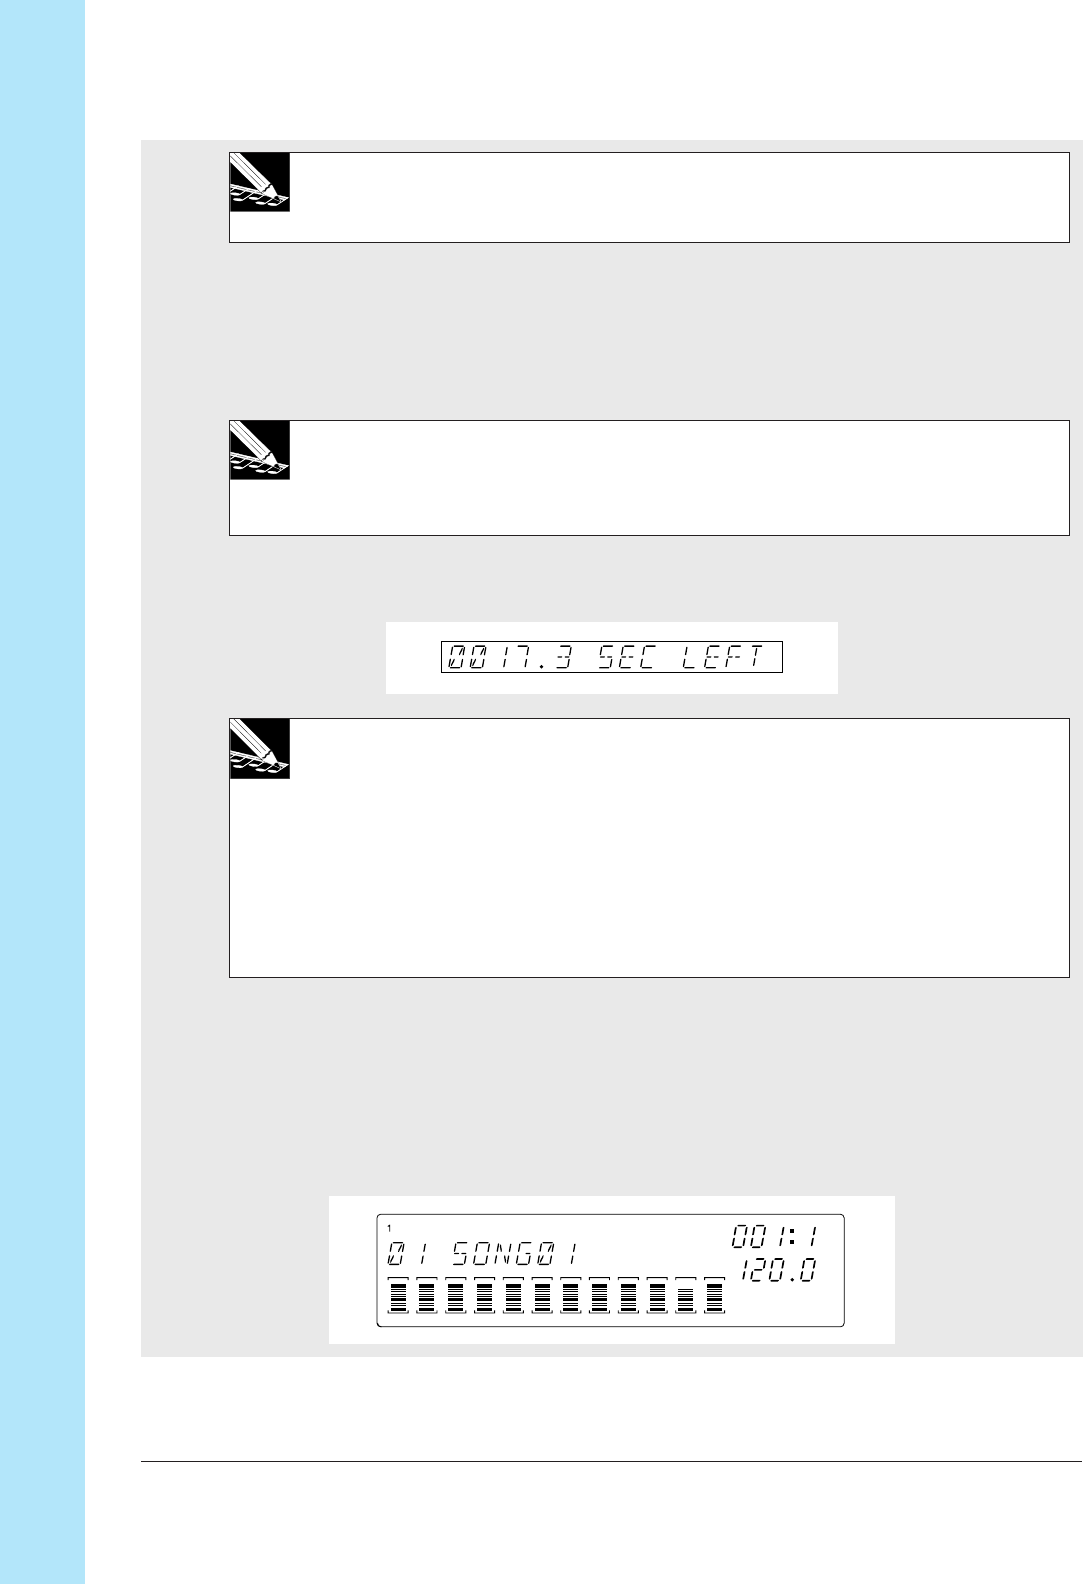
▼ Recording stops. The SU700 displays WAIT... as it process the new data. It then re-
turns to PLAY STANDBY mode and redisplays the main screen.
The sample will automatically be assigned a sample name. For details on naming
rules, refer to page 154.