


Appendix
314 Installing the Options
2. Opening and Closing the SU700
Before you can install an option, you need to open the SU700 by lifting and flipping
over its top cover. When you have completed installation, you will need to reattach
the cover.
Flipping the Cover
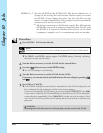
1.
Be sure that you have the following items on hand.
π SU700
π The option(s) that you plan to install
π Phillips screwdriver (preferably with magnetic tip)
π Stable work surface (workbench or table)
π Cloth or other soft material placed on the work surface, to protect the SU700 (and
the work surface itself) from damage.
2.
Be sure that the SU700 power switch is in OFF position, and that all cables have
been disconnected from the SU700 jacks and external connectors.
3.
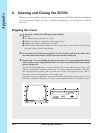
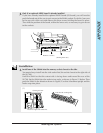
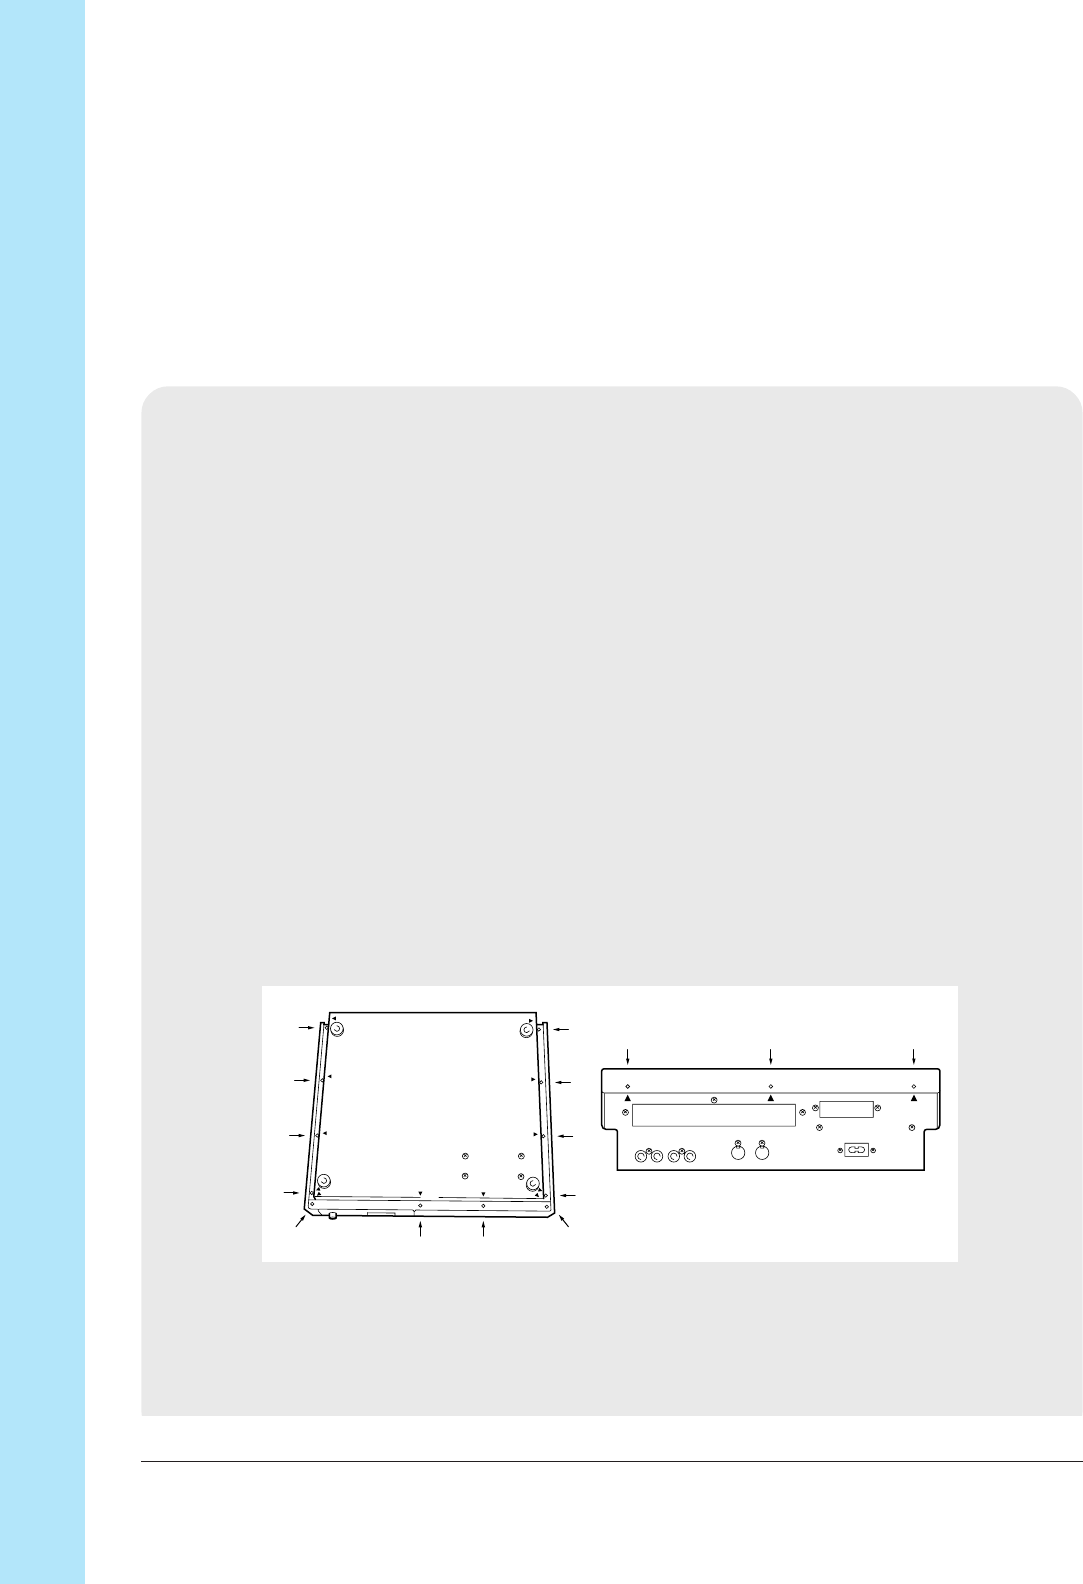
Remove the 15 screws holding the top cover in place (12 screws along the bottom,
and 3 smaller screws along the back rim). The screws are indicated by arrow marks
printed on the unit.
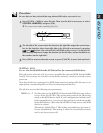
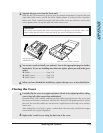
Turn the SU700 upside down, and set it down softly on the cloth laid out on the work
surface. Using the screwdriver, remove the 12 screws along the perimeter. Then turn
the unit right side up again, slide it so that its rear side is facing toward you, and re-
move the 3 screws along the back rim of the cover.
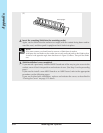
Keep the screws in a safe place, as you will need to reinsert them when you have fin-
ished the installation. (Keep the 12 larger screws separate from the 3 smaller screws.)