


Chapter 2 Tutorial 55
CHAPTER 2
■ Track editing (Creating an endless loop phrase)
Now you want to listen to the results of your recording, and edit the playback start
and end points to get a clean loop.
NOTE:
• If the recording results are not acceptable, you can simply repeat the previous proce-
dure to record the sample again. When you select the same track as the recording
destination, the SU700 will display the query
REPLACE?
, asking you whether you
wish to replace the data that you have already recorded. Simply press [OK] to proceed.
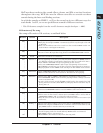
• The following steps show how to edit the sample’s length. When working on your
own, you may also want to edit the sample in other ways as well. (For example, you
may want to “normalize” the sample to get a better dynamic range.) For information
about the various types of editing you can perform on samples, refer to pages 151 and
152, and also to the explanation of the SAMPLE jobs (pages 262 to 271).
Procedure
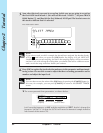
1.
Press and hold the LOOP 1 track pad to play the sample.
▼ The sample loops continuously as you hold down the pad.
NOTE:
You can also listen to the loop by starting the sequencer (by pressing ), since the
SU700 automatically generates the loop. But you must stop the playback (press )
before you can proceed to edit the sample as described below.
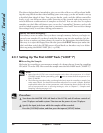
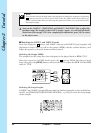
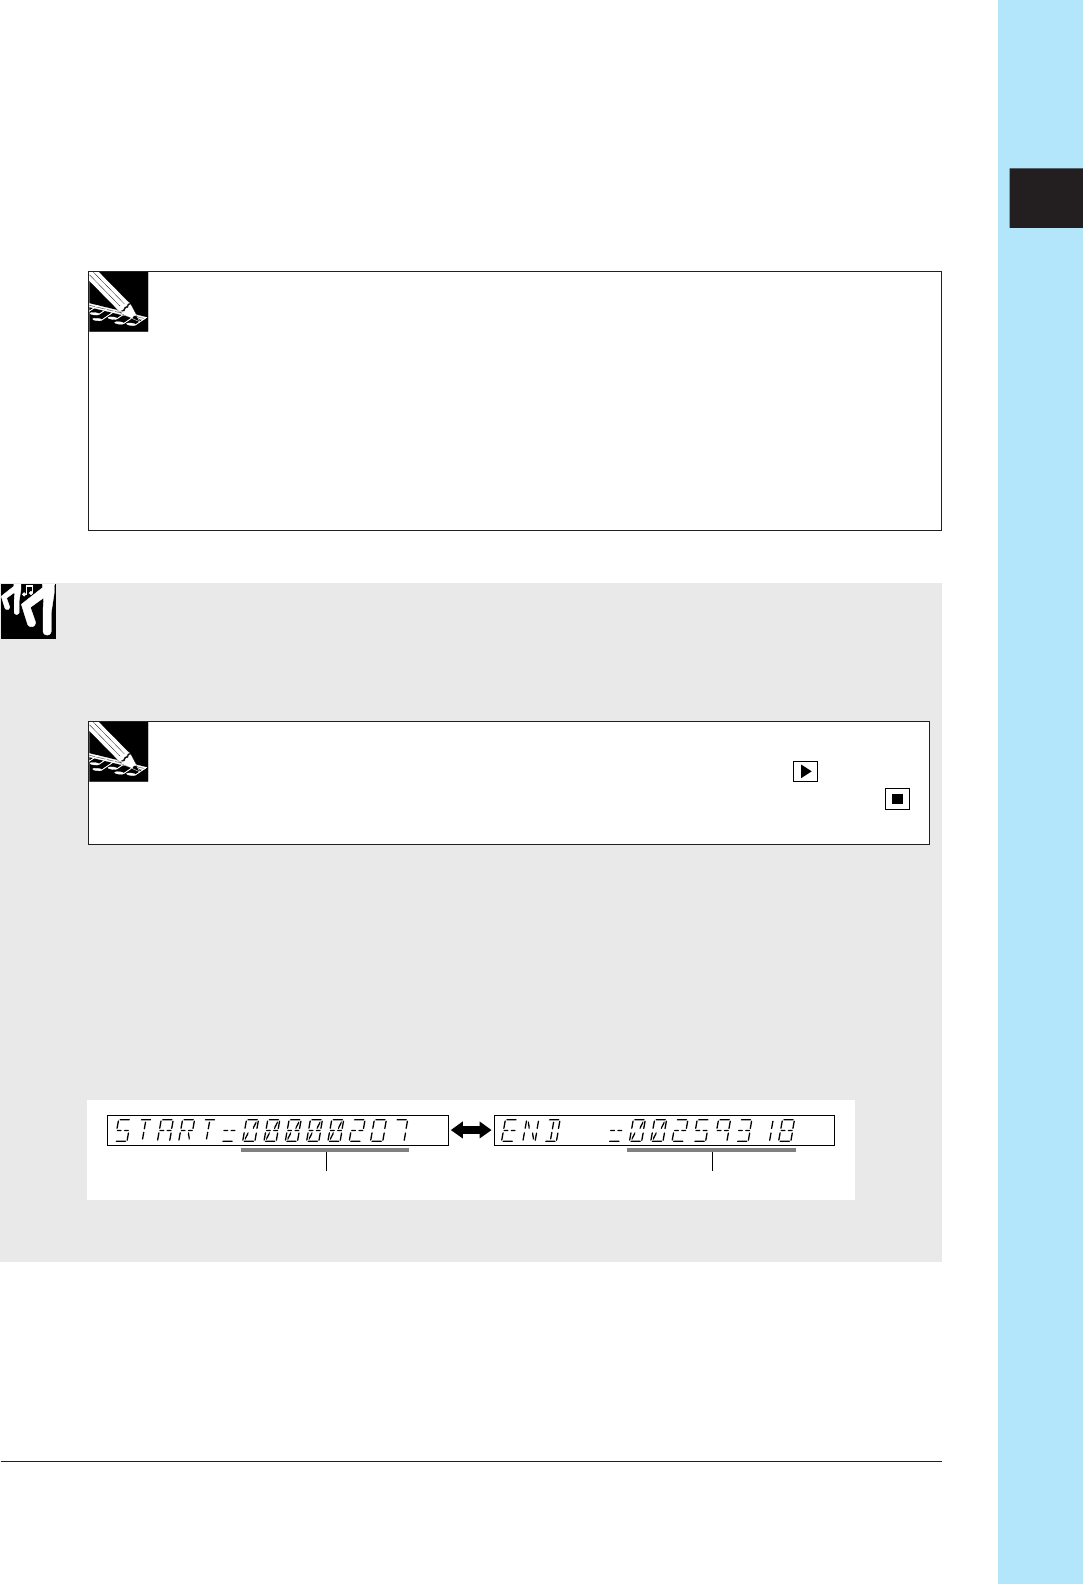
We will now use the SAMPLE | START POINT and SAMPLE | END POINT jobs to ad-
just the playback range (the length) of the sample. (For full details about these jobs,
refer to page 259.)
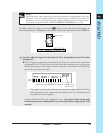
EXPLANATION:
When recording the sample, you almost certainly did not record the exact area that you
wish to use for your loop. Rather, you presumably recorded some excess. You must there-
fore adjust the start and end points to zero in on the area you want to replay.
Start point End point
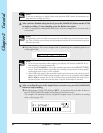
2.
First, press the SAMPLE job-group selector to select the SAMPLE job group.