Appendix
320 Installing the Options
Remove the coverplate.
(Viewing from rear.)
5.
Connect one end of the short 3-wire cable (described in Step 1) to the now-empty 3-
pin connector on the board (connector “CN3”).
6.
If you have not yet done so, unfasten and lift off the top cover as described in “Flip-
ping the Cover” on page 314 above. Also be sure that you have a Phillips screwdriver
at hand.
7.
Only if an optional ASIB1 board is already installed...
If you have already installed an optional ASIB1 (SCSI) board, you should temporarily
unhook the ASIB1 flat cable from the plastic fastener on the FDD, so that you can
work freely with the AIEB1 flat cable. When you are finished installing the AIEB1, you
can set the ASIB1 cable back through the fastener-so that it runs over and then under
the plastic flap (and above the AEIB1 flat cable) as it moves from the board to the
SU700 connector. (See page 325).
Installation
IMPORTANT
Please remember that if you are also installing SIMMs at this time, you must install the SIMMs
before you install the AIEB1.
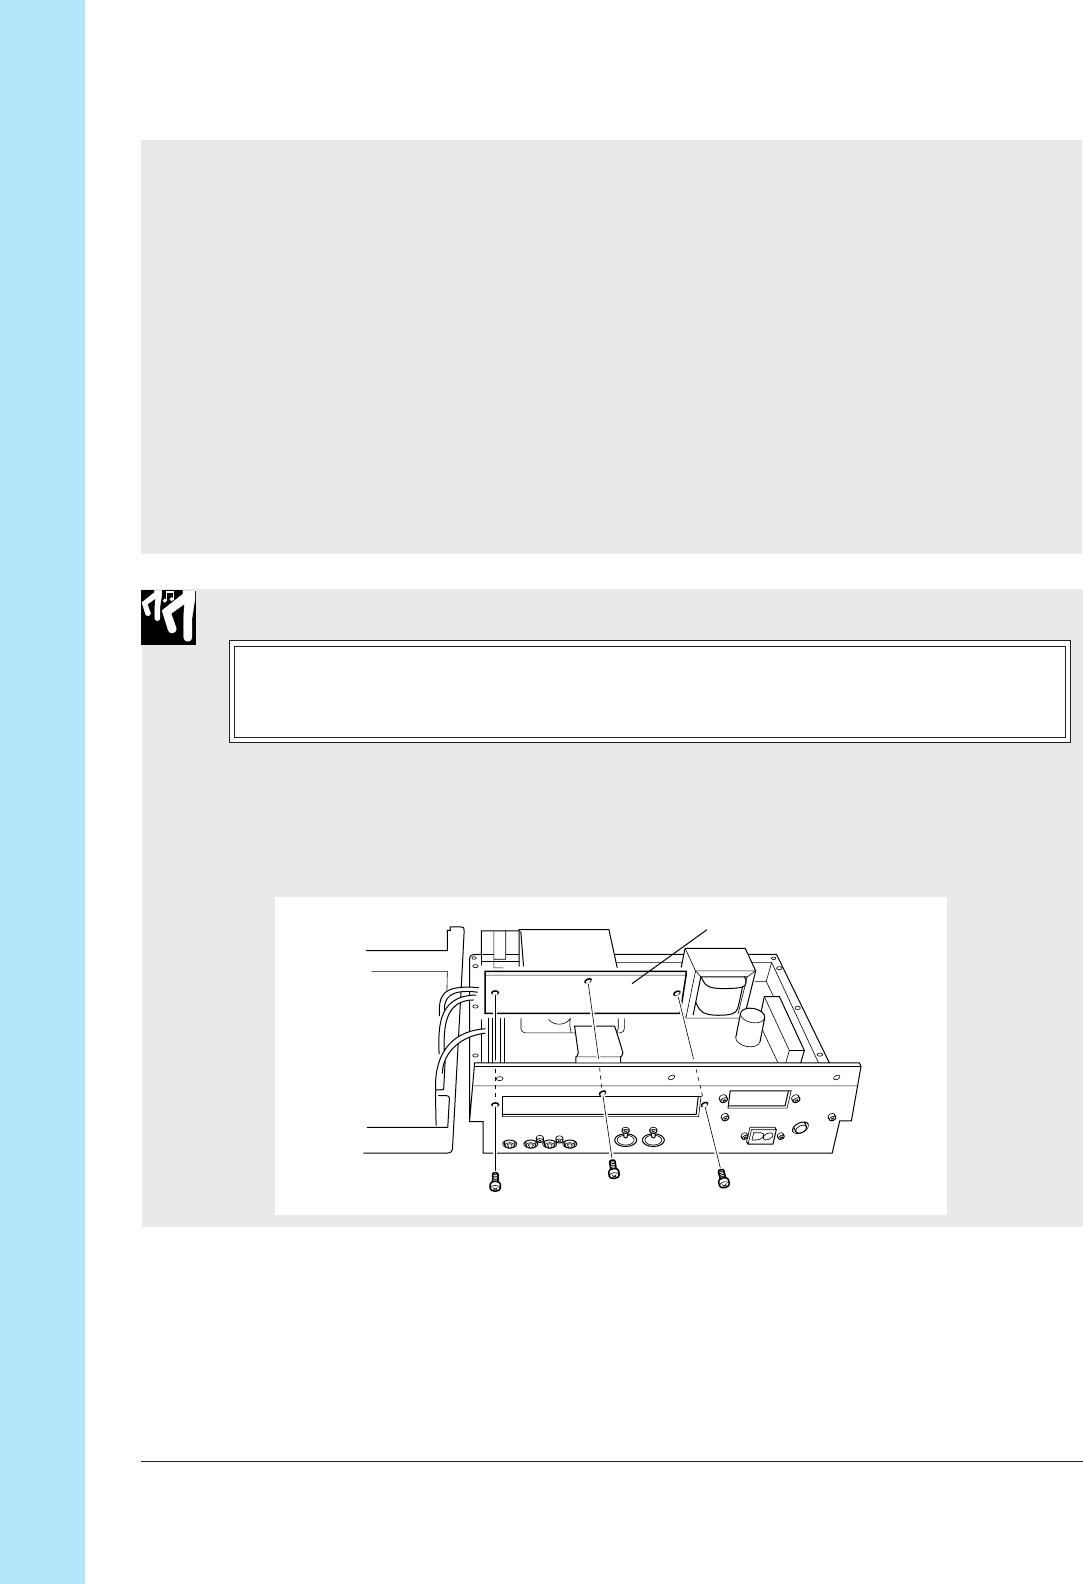
1.
Remove the three screws holding the long coverplate to the rear panel. Take the
coverplate out.
Keep the three screws handy; you will need them in a minute. You will not need the
coverplate again unless you decide to remove the expansion board.


