


Chapter 2 Tutorial 89
CHAPTER 2
2.
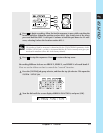
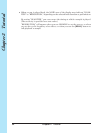
Open the DISK | SAVE job: Press the [DISK] job-group selector, and then press the
second job selector.
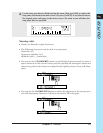
3.
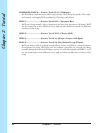
Turn the dial as necessary to select the following, and press the [OK] button.
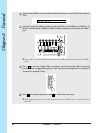
4.
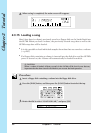
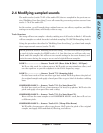
Confirm that the display appears as follows.
▼ If you have installed an ASIB1 board and mounted a SCSI drive, you may need to
turn the dial to select FDD at the above screen.
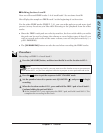
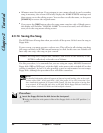
5.
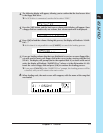
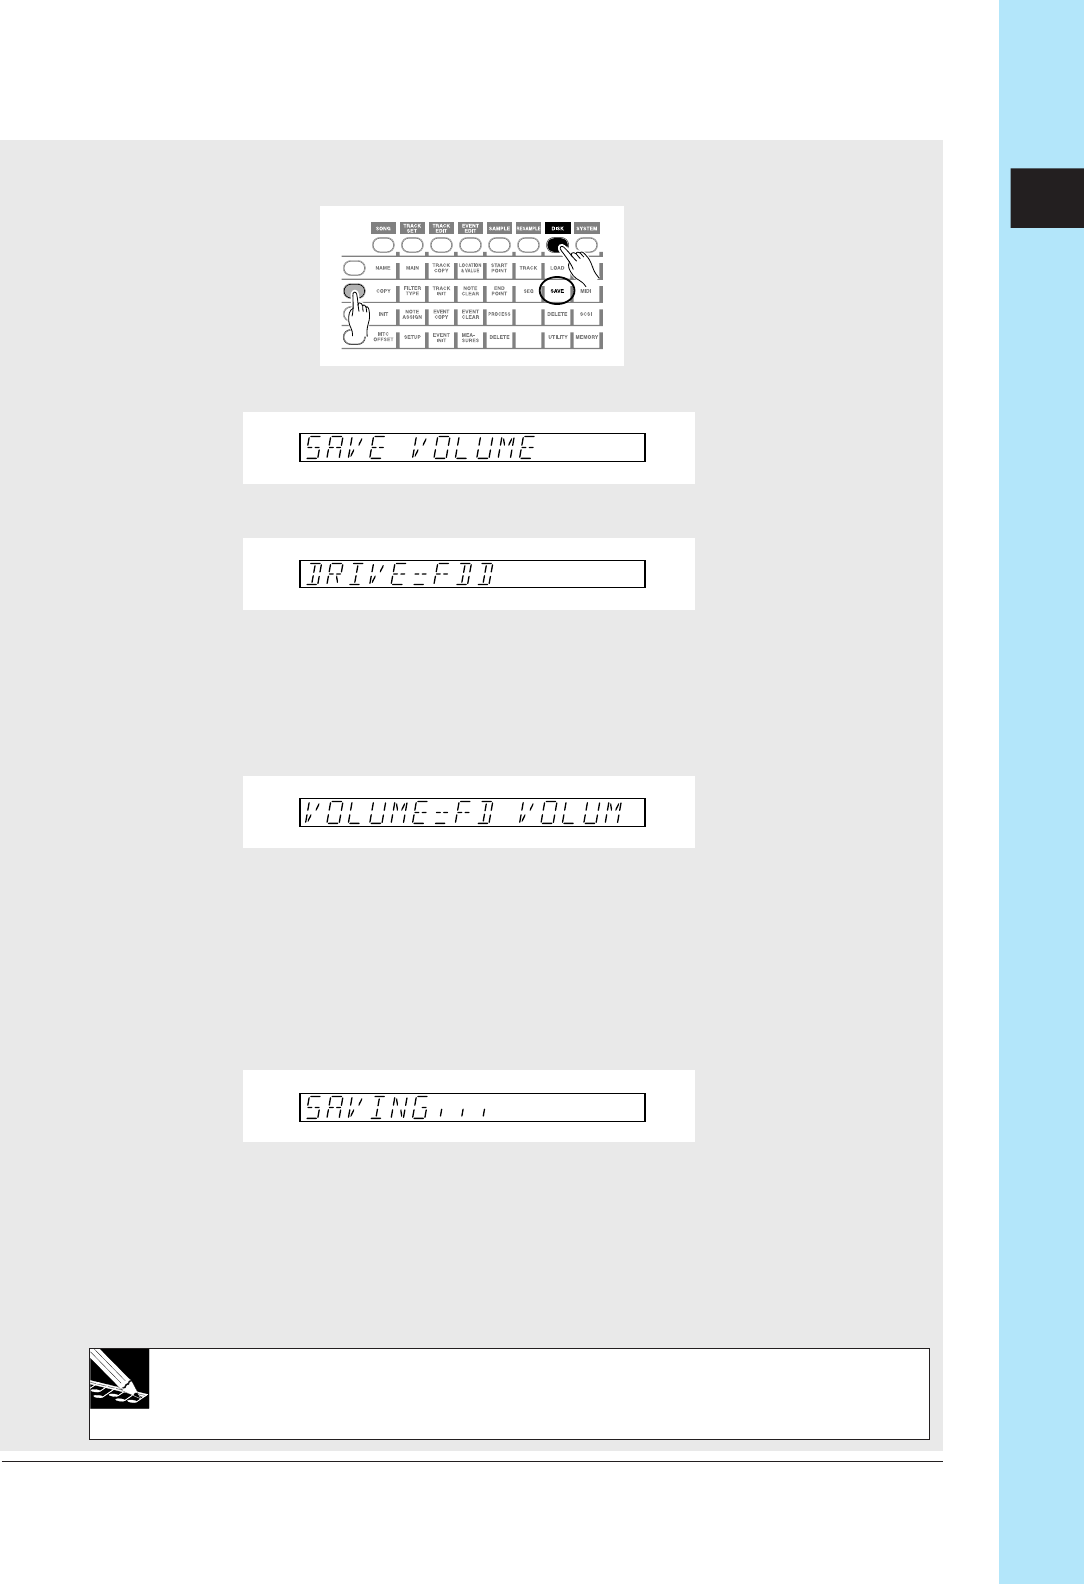
Press [OK]. The screen will display the volume name for the volume your are saving.
The default volume name for floppy-disk saves is FD VOLUM.
▼ If the inserted disk already contains a volume, or its write protect tab is in the ON
position, or is not in MS-DOS format, an appropriate message will appear. (Refer to
SAVE, → p.288)
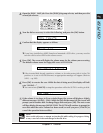
6.
Press [OK] to execute the save. While the data is being saved, the display will indi-
cate “SAVING…”
▼ You cannot use [CANCEL] to stop the operation while the SU700 is writing to disk.
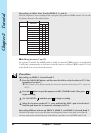
7.
If the volume is too large to fit on a single floppy, the screen will display a slightly
different message: SAVING... FD01. When the first disk becomes full, the screen will
prompt you for another disk. Exchange floppy disks and press [OK]. The next screen
will then display the message SAVING FD02. The SU700 will continue to prompt for
new disks until the entire volume has been saved (or until you press [CANCEL] to
cancel the operation between disks).
NOTE:
Never switch off power or attempt to eject the disk while writing is in progress. Doing
so may cause loss of data and damage to the disk drive.