


APPENDIX
Installing the Options 317
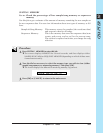
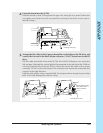
Cutout goes here
Push into the socket gently.
Insert into right-side socket first.
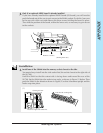
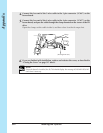
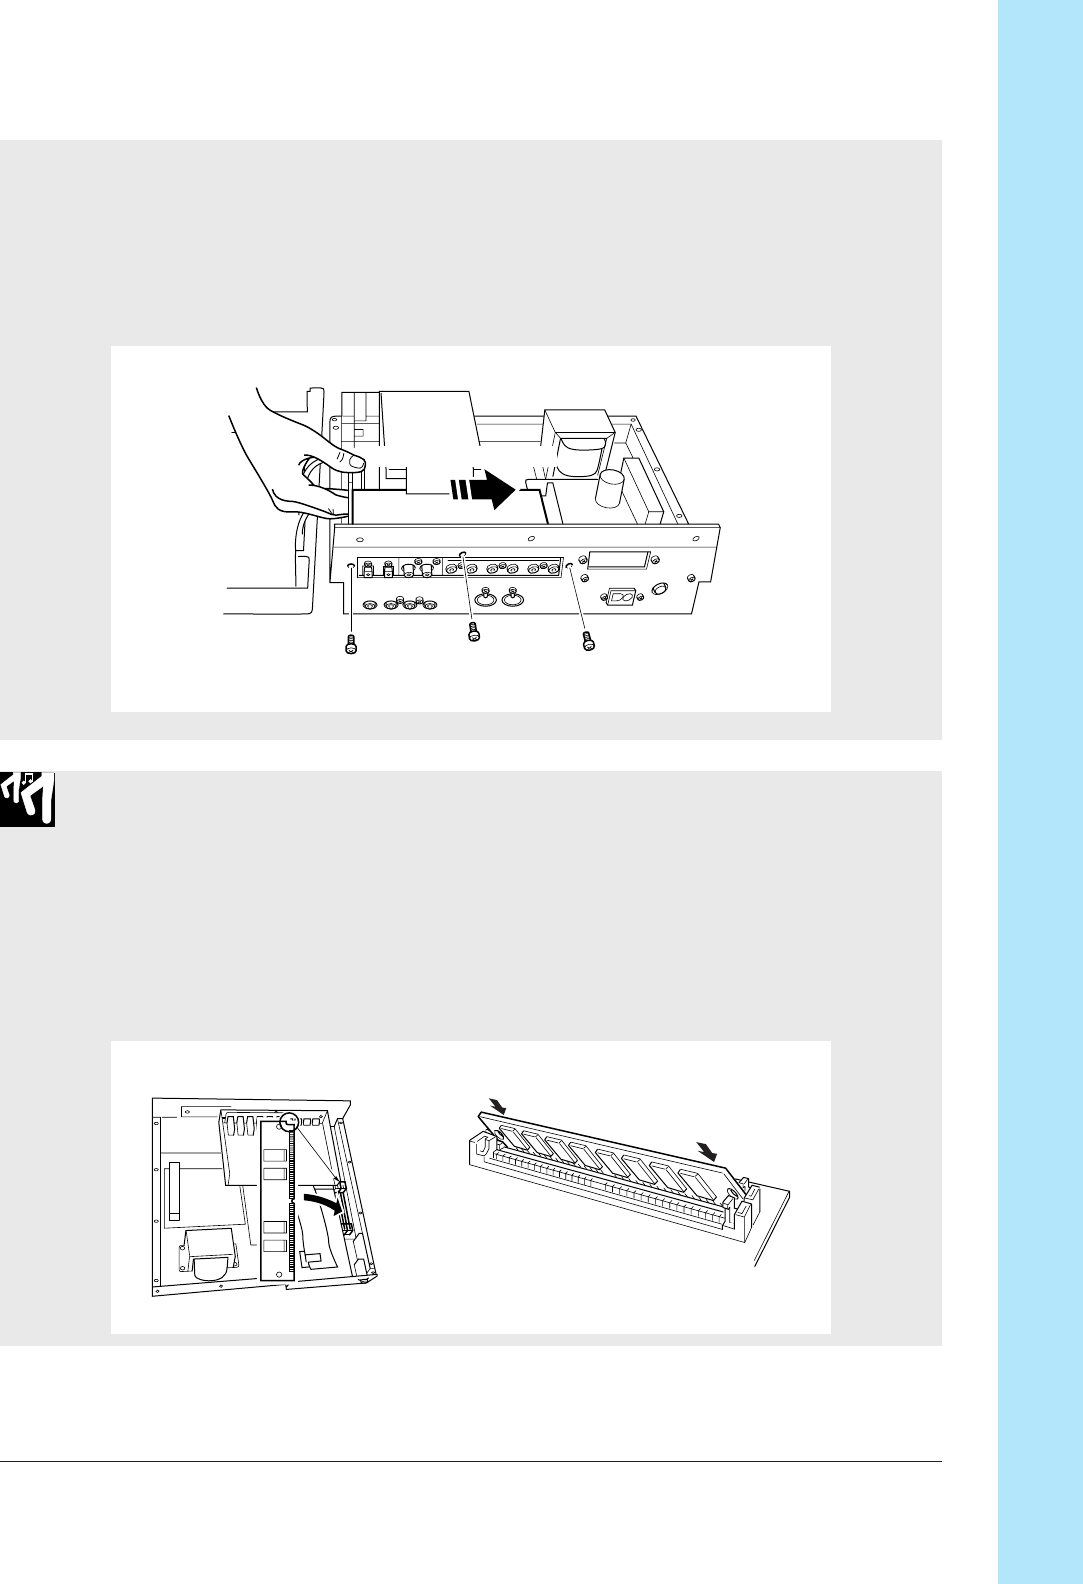
Remove 3 screws...
(Viewing from rear.)
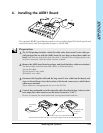
3.
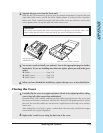
Only if an optional AIEB1 board is already installed.
If you have already installed the optional AIEB1 board (I/O board), you will need to
push the board out of the way to gain access to the SIMM sockets. To do this, lean over
to the rear side of the unit and remove the three screws holding the board in place.
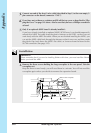
Then shift the position of the board, within the lower unit, as necessary to gain access
to the sockets.
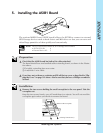
Installation
1.
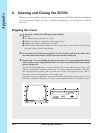
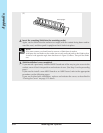
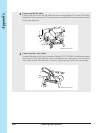
Install one of the SIMMs into the memory socket closest to the side.
You must always install into the side socket first (the socket closest to the right side of
the SU700).
Hold the SIMM so that the cutout side is facing down and toward the rear of the
SU700. Set the SIMM into the socket at an angle, as shown in Figure (1) below. Then
push the SIMM in the direction shown in Figure (2) so that it becomes upright and the
hooks snap into place.
(1)
Shift the board position