Chapter 2 Tutorial 47
CHAPTER 2
4.
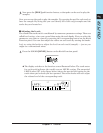
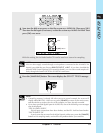
You can now use the ribbon to control the level on the selected ribbon track (the
first LOOP track, as selected in the previous procedure). Try holding down the
pad as you touch different parts of the ribbon and as you move your finger
along the ribbon.
NOTE:
Touching the ribbon at the very bottom causes the track’s LEVEL setting to immediately
drop to 0; touching the ribbon at the top causes the tracks LEVEL setting to jump to 127.
You can also slide your finger up or down the ribbon so as to adjust the value more
gradually.
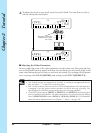
■ Using the Ribbon to Control Other Parameters
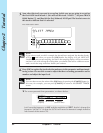
Now try using the ribbon to control some of the other functions. Repeat the above
procedure but at step 3 select some function other than LEVEL or SCRATCH. Note
that available functions vary somewhat according to track type.
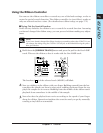
2.3 Building Your Own Song
Now we’ll proceed to build an entire song using the samples provided on the “SU700
Sampling Audio” audio CD included with the SU700.
During these procedures you will gain experience at recording samples and sequence
data.
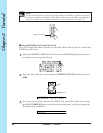
Song Design Plan
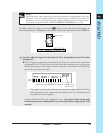
We’ll build the song according to the design plan given below.
A finished version of the song we will be creating is provided on the included audio
CD “SU700 Sampling Audio” (Track 93). You may want to listen the song on your CD
player so that you can hear the type of sound we are trying to create.
●
In this section, the sampling grade and various procedures have been simplified for
instructional purposes, in order to clarify the operations and procedures. For this
reason, the song that you create will differ slightly from the example (Track 93) in
audio quality and other respects.


