Checklists and job aids
Upgrade an S8100’s R10+ software using a CD
S8100 Installation and Upgrades 15
November 2003
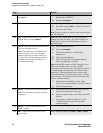
15 BS – Important! – Display and record the
customer’s network and product information.
a From the bash shell, execute the following three
commands – setip, productid, oss.
b Write down all of this information exactly
as it appears on the screen. You will need to
re-enter this information later.
16 BS – Close the bash window. Type exit.
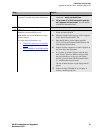
17 SDT – Connect to and open the laptop’s CD-
ROM drive from the S8100 server.
Note: Make sure the CD-ROM drive on the
laptop is shared.
For more detaied information, see:
• Connectivity and access to an S8100
system on page 139
• Map CD-ROM for an S8100 upgrade
on page 339
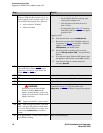
a On the S8100’s desktop, right-click My Network
Places, and select Search.
b When the search window pops up, click Computers
in the “Search for other items” list.
c Enter the IP address for the laptop (typically,
192.11.13.5) in the Computer Name window, and
click the Search Now button.
d Double-click the computer icon when it appears in
the Name list in the right panel.
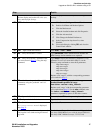
e If a Connect As window appears, enter the user
name (in the Connect as window) and password
that you normally use to log onto your laptop.
Precede your user name with the domain name\;
i.e., <domain name>\<user name>
The list of shared devices on your laptop should
appear.
f Double-click the CD-ROM drive to display its
contents, including setup.exe.
Step Details


