


C Miscellaneous procedures
Installing INTUITY languages other than English
300 S8100 Installation and Upgrades
November 2003
NOTE:
For Windows™ NT and Windows 2000™, follow the above procedure; however, the
laptop my not ask to be rebooted for settings to take effect (as in step 8, above). This
should be done, in any case.
For Windows™2000, there have been some changes:
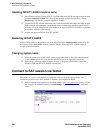
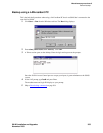
1 Right click My Network Places, and select Properties.
This opens the Network and Dial-up Connection window.
2 Right click the Local Area Connection, and select Properties.
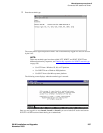
3 In the Connect Using window, select the General tab.
4 Click Internet Protocol (TCP/IP) in the lower portion of the window.
5 Click Properties, which is now selectable.
6 If there is an IP address in the next window, write it and any other information down. These will
be needed later.
NOTE:
If the following IP address does not have a dot in it, click it.
7 Change the IP Address to 192.11.13.5 and the Subnet Mask to 255.255.255.252.
NOTE:
If there is anything in the DNS, the system needs to be rebooted for the changes to take
effect.
8 Click OK.
9 Close the windows and reboot the system, if necessary.
10 Connect the cross-over cable between the laptop and the TN2314 Service Access port (RJ-45
jack).
CAUTION:
When using Terminal Server™, because of the size of the laptop display, use the scroll bar
on the right side of the display to go to the bottom of the desktop screen. That is where the
Start button for the desktop is found. Otherwise, the Start button on the Taskbar may be
that of the laptop. The technician can also right click the laptop Taskbar, select Properties,
and check the Auto Hide box. This will cause the Taskbar to be hidden until the cursor is
moved to the very bottom of the display.